Photo AI
The sketch shows a wooden casement window fitted in the external wall of a dwelling house - Leaving Cert Construction Studies - Question 7 - 2014
Question 7
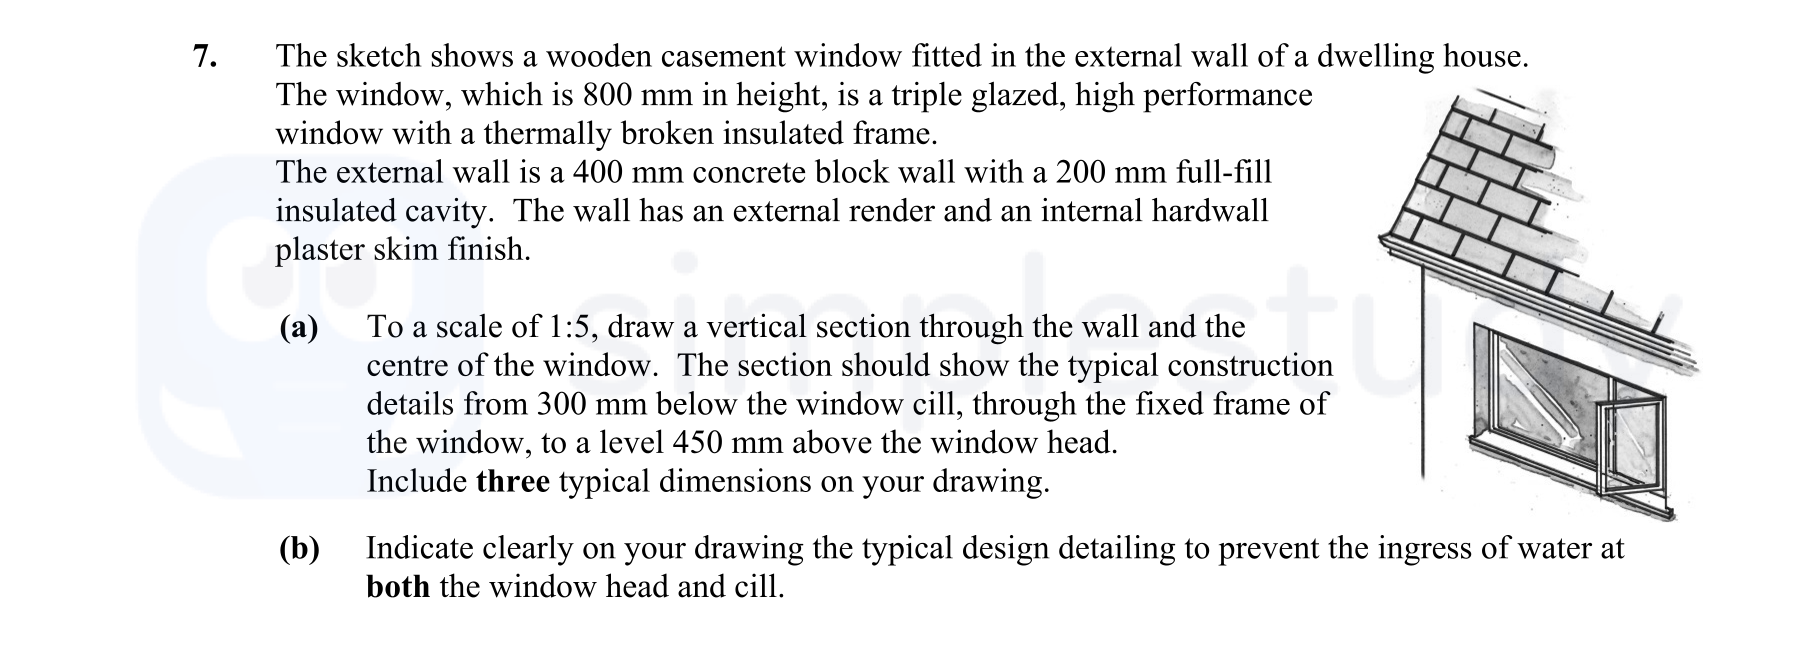
The sketch shows a wooden casement window fitted in the external wall of a dwelling house. The window, which is 800 mm in height, is a triple glazed, high performanc... show full transcript
Worked Solution & Example Answer:The sketch shows a wooden casement window fitted in the external wall of a dwelling house - Leaving Cert Construction Studies - Question 7 - 2014
Step 1
(a) To a scale of 1:5, draw a vertical section through the wall and the centre of the window.

Answer
To create the vertical section:
- Start by drawing a height of 800 mm for the window.
- Mark the bottom of the window cill at 300 mm below the window, making the total height from the base of the wall to the head of the window 800 mm + 450 mm = 1250 mm.
- Draw the 400 mm thick concrete block wall, and include the 200 mm full-fill insulated cavity.
- Ensure to represent the external render and internal plaster skin accurately.
- Include three typical dimensions:
- From the base of the wall to the bottom of the window cill.
- From the bottom of the cill to the fixed frame of the window.
- From the top of the frame to the window head (450 mm above the head).
- Label all parts clearly, ensuring it matches thermally broken, triple-glazed construction.
Step 2
(b) Indicate clearly on your drawing the typical design detailing to prevent the ingress of water at both the window head and cill.
Answer
To detail the design for preventing water ingress:
- At the window head, include a drip detail or a projecting ledge to allow water to run off.
- Ensure proper flashing is depicted to direct water away from the opening.
- For the window cill, show a sloped cill profile that allows water to run off the face rather than sitting on it.
- Clearly mark seals or gaskets that prevent moisture from entering the cavity.
- Use arrows or notes to illustrate drainage paths for water away from the window.