Mail Merge and Objects (Grade 12 NSC Matric Computer Application Technology): Revision Notes
Mail Merge
What is mail merge?
Mail merge is a powerful word processing feature that helps you create personalised documents for multiple recipients efficiently. Instead of writing individual letters to each person, mail merge allows you to create one template document and automatically insert different information for each recipient.
Think of mail merge as a smart copy-and-paste system. You write your letter once, mark the places where personalised information should go, and then let the computer do the work of creating individual copies with the right details for each person.
Data sources you can use
Mail merge works with various types of data sources where you store recipient information:
- Outlook contact lists - Your existing email contacts
- Excel spreadsheets - Organised data in rows and columns
- Word data files - Simple tables created in Word
- Access databases - More complex data storage systems
- Text files - Basic comma-separated data
The most important thing to remember is that your data source must be organised with column headings in the first row, followed by the actual data in subsequent rows.
The three components of mail merge
Every mail merge operation involves exactly three documents that work together:
1. Main document This is your template containing the text and layout that stays the same for everyone. It includes placeholder fields where personalised information will be inserted.
2. Mailing list This is your data source containing the recipient information organised in columns (like Name, Address, Phone Number). Each row represents one recipient.
3. Merged document This is the final result - multiple personalised documents created by combining your template with the recipient data.
Understanding the Mail Merge Relationship:
Main document + Mailing list = Merged document
Template with placeholders + Recipient data = Personalised letters
This relationship is crucial to understand before starting any mail merge operation.
How to perform mail merge in Microsoft Word
Setting up your mail merge
The mail merge process begins in Word's Mailings tab, which contains all the tools you need for creating personalised documents.

Step 1: Start the mail merge Open a new Word document or an existing template. Navigate to the Mailings tab and click "Start Mail Merge" to choose your document type (letters, envelopes, labels, etc.).
Step 2: Select your recipients Click "Select Recipients" and choose whether to use an existing list, create a new one, or select from Outlook contacts. If using an existing file, browse to locate your data source.
Step 3: Write your document Type the content that will be the same for all recipients. Use placeholder text like "Dear [NAME]" to mark where personalised information will go later.
Inserting merge fields
This is where the magic happens - you replace your placeholder text with actual merge fields that will pull information from your data source.
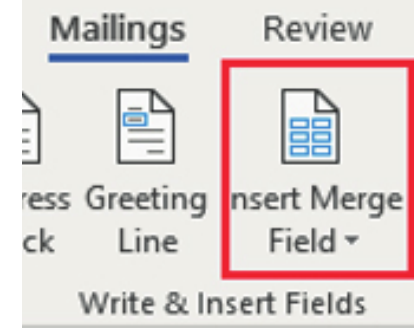
Step 4: Insert merge fields Position your cursor where you want personalised information to appear. Click "Insert Merge Field" to see available fields from your data source.
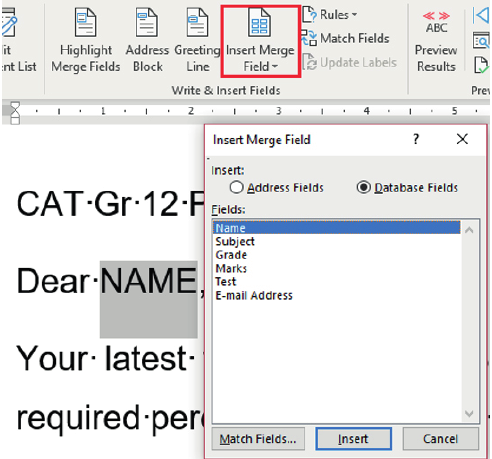
The dialogue box shows all available fields from your recipient list. Select the appropriate field (like "Name" or "Address") and click Insert. The field will appear in your document surrounded by special brackets.
Step 5: Complete your document Continue adding merge fields throughout your document wherever personalisation is needed. You can combine multiple fields or add punctuation between them.
Finishing your mail merge
Step 6: Preview your results Before finalising, click "Preview Results" to see how your merged document will look with actual data. Use the navigation arrows to check different recipients.
Step 7: Complete the merge When satisfied with your preview, click "Finish & Merge" to choose your output option:

- Edit Individual Documents - Creates a new document with all merged letters
- Print Documents - Sends directly to printer
- Send Email Messages - Distributes via email
Complete Mail Merge Workflow:
- Open Word → Mailings tab
- Start Mail Merge → Choose document type
- Select Recipients → Browse to data source
- Write your template content
- Insert Merge Fields → Add personalisation points
- Preview Results → Check appearance
- Finish & Merge → Choose output method
Using Excel spreadsheets as data source
Excel spreadsheets are particularly useful for mail merge because they handle data organisation well and allow for easy editing and calculations.
Preparing your Excel data
Before using Excel data in a mail merge, ensure your spreadsheet is properly formatted:
- Column headers must match field names you want to use in Word
- All relevant data should be on the same worksheet
- Data should be properly formatted (dates as dates, numbers as numbers)
- Save the spreadsheet in an accessible location
- Remove any unnecessary formatting that might interfere with the import
Critical Data Preparation Rules:
- Column headers in the first row - this cannot be emphasised enough
- Consistent data formatting throughout each column
- No blank rows between your header and data
- Save your file before connecting to Word
Connecting Excel to Word
When you select "Use Existing List" in the mail merge process, you can browse to your Excel file. Word will display a dialogue asking which worksheet contains your data and allowing you to preview the information before importing.
The connection between Word and Excel remains active, meaning changes to your spreadsheet can be reflected in your mail merge document by refreshing the data connection.
Importing data directly to Word
Sometimes you might want to bring data directly into a Word document without using the traditional mail merge process. This approach gives you more control over how the data appears.
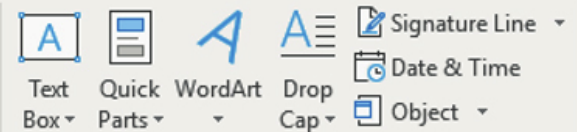
Navigate to the Insert tab and look for the Object options in the Text section.
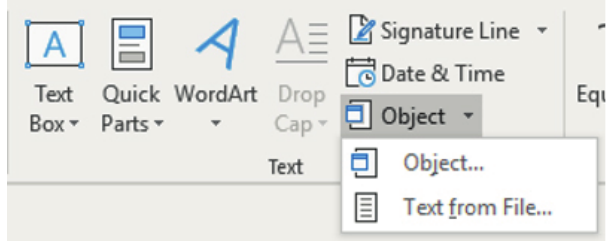
Select "Text from File" to import content from another document directly into your current document.
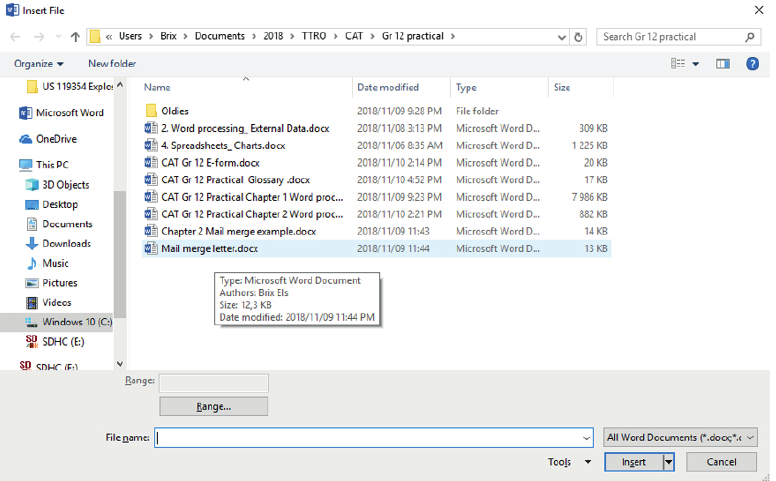
This method allows you to browse for files and insert their contents as static text, which can then be formatted and edited as needed. Use this when you need more flexibility than traditional mail merge provides.
Tips for successful mail merge
Understanding these best practices will help you avoid common pitfalls and create professional results every time.
Data preparation is key Always check your data source before starting the merge. Ensure names are spelled correctly, addresses are complete, and all necessary information is present.
Use consistent field names Keep field names simple and consistent. Avoid spaces and special characters in column headers when possible.
Test with a small sample first Before merging hundreds of documents, test your setup with just a few recipients to catch any formatting issues.
Save your work frequently Both your main document and data source should be saved regularly. The connection between them can be fragile if files are moved or renamed.
Consider your output method early Think about whether you'll print, email, or edit individual documents before you start, as this affects how you structure your merge.
Key Points to Remember:
- Mail merge combines three components: main document, mailing list, and merged output
- Data organisation matters: column headers in the first row, data in subsequent rows
- The Mailings tab contains all essential tools for creating and managing mail merges
- Always preview your results before completing the merge to catch formatting errors
- Excel spreadsheets make excellent data sources due to their organisational capabilities