Sorting (Grade 10 NSC Matric Computer Application Technology): Revision Notes
Sorting
Sorting data in spreadsheets is one of the most useful functions for organising and analysing information. When you sort data, you arrange it in a specific order, such as alphabetically or numerically, making it much easier to find patterns and specific information.
Why sorting matters in spreadsheets
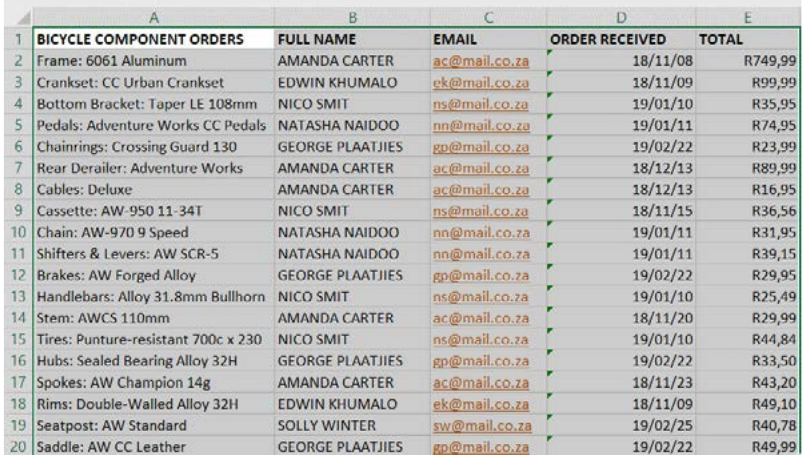
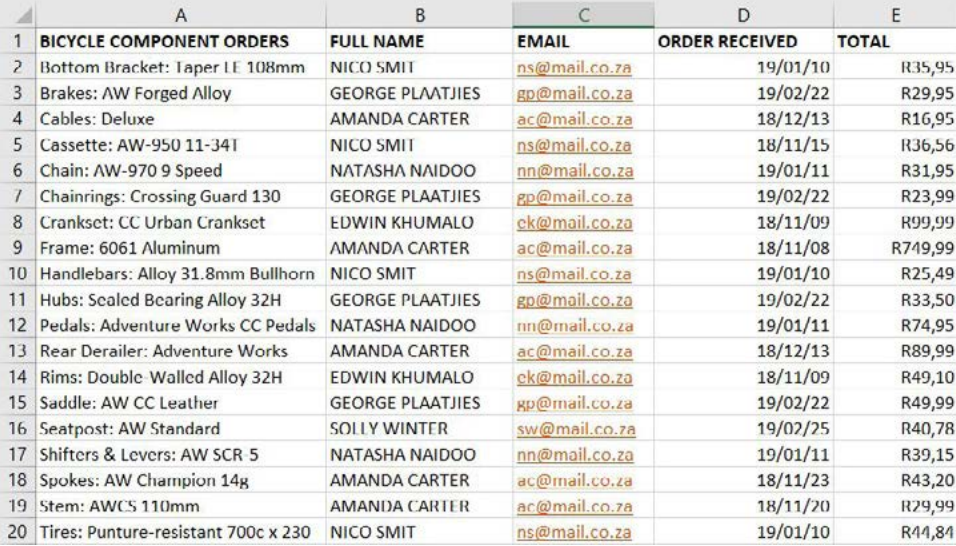
Understanding how to sort data properly is crucial because spreadsheet information is typically organised in rows, where each row contains related data that belongs together. For example, in a student marks sheet, each row might contain a student's name, student number, and their marks for different subjects. When you sort this data, you need to ensure that all the information in each row stays together - you wouldn't want a student's name to end up with someone else's marks!
The Golden Rule of Sorting
Always keep row information together. This means when you sort data, you should select the entire range of related data, not just a single column. This prevents your data from becoming mixed up and maintains the relationships between different pieces of information.
Method 1: Sorting a range using the sort dialogue box
This method is best when you need more control over how your data is sorted, especially when you have multiple columns of related information that need to stay together.
Step-by-step process for sorting a range
Here's how you can sort a range of data while keeping all related information together:
Worked Example: Sorting a Data Range
Step 1: Select your data range First, you need to select all the data that should stay together when sorting. This includes all columns that contain related information. Don't just select the column you want to sort by - select the entire table or range.
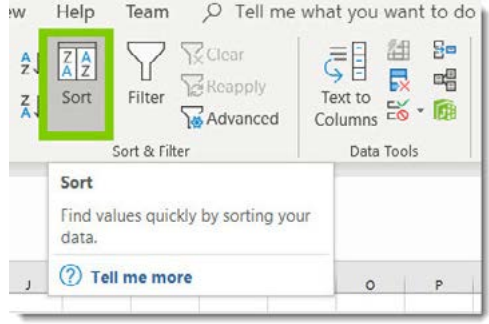
Step 2: Access the Sort function Go to the Data tab on the ribbon and click the Sort button. You'll notice that Excel provides helpful tooltip information about sorting.
Step 3: Choose your sorting criteria When the Sort dialogue box opens, you can choose which column to sort by and whether you want ascending (A to Z, smallest to largest) or descending (Z to A, largest to smallest) order. The dialogue box shows all available columns from your selected range.
Step 4: Apply the sort Once you've made your selections, click OK to apply the sort. Your data will be rearranged according to your chosen criteria, but all the row information will stay together.
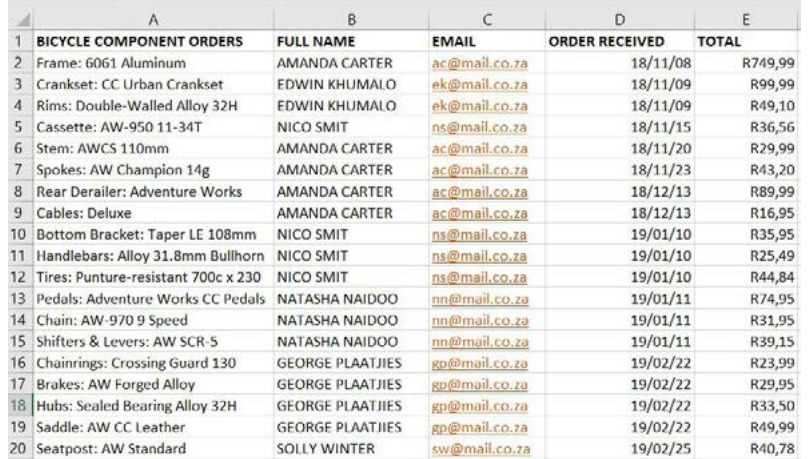
This method is particularly useful when you're working with complex data sets where you might need to sort by multiple criteria or when you want to ensure that all related data moves together as a unit.
Method 2: Quick sorting using sort A to Z
This method is perfect for simple, quick sorting tasks, especially when you want to sort a single column alphabetically or numerically.
When to use quick sorting
Quick sorting is ideal when you need to rapidly organise data in a simple alphabetical or numerical order. It's commonly used for sorting names, product codes, or dates.
Step-by-step process for quick sorting
Worked Example: Quick Sorting
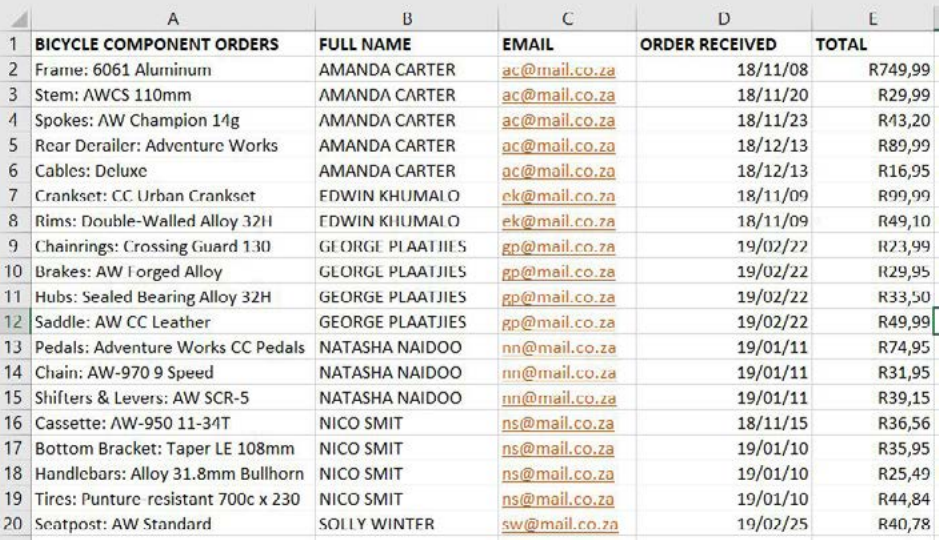
Step 1: Select the column or cell Click on any cell in the column you want to sort. You don't need to select the entire column - Excel will automatically detect the data range.
Step 2: Access the sort options Go to the Data tab and look for the Sort & Philtre group. You'll see options for "Sort A to Z" (ascending) and "Sort Z to A" (descending).
Step 3: Choose your sort order Click either "Sort A to Z" for ascending order (alphabetical from A to Z, or numerical from smallest to largest) or "Sort Z to A" for descending order.
The worksheet will automatically sort according to your selection, and if you've selected a cell within a table of data, Excel will move all related row information together.
Important considerations when sorting
Data integrity and relationships
Always remember that data in spreadsheet rows is usually related. For example, if you have a list of students with their marks, each student's name must stay with their corresponding marks. When sorting, make sure you select the complete data range so that relationships between columns are preserved.
Headers and data types
Most spreadsheets have headers (column titles) in the first row. When sorting, ensure that headers don't get mixed in with your data. Excel usually detects headers automatically, but it's good practice to check that the "My data has headers" option is selected in the Sort dialogue box.
Choosing the right sorting method
Use the Sort dialogue box when you need more control or are working with complex data relationships. Use the quick sort buttons (A to Z, Z to A) for simple, single-column sorting tasks.
Exam tips for sorting questions
Exam Success Tips
When answering exam questions about sorting:
- Always mention the importance of selecting the entire data range, not just the column being sorted
- Explain that this keeps related row data together
- Know the location of sorting tools (Data tab in the ribbon)
- Understand the difference between ascending and descending order
- Be familiar with both sorting methods and when to use each one
Common Mistakes to Avoid
- Sorting only one column when other columns contain related data
- Forgetting to include headers in your selection
- Not understanding the difference between ascending and descending order
Key Points to Remember:
- Always select the complete data range when sorting to keep related information in each row together
- Use the Data tab to find all sorting functions in Excel
- Choose "Sort" from the Data tab for complex sorting with multiple criteria or when you need more control
- Use "Sort A to Z" or "Sort Z to A" for quick, simple sorting of a single column
- Ascending order goes from A to Z or smallest to largest, while descending order goes from Z to A or largest to smallest