Common Skills with Spreadsheets (Grade 10 NSC Matric Computer Application Technology): Revision Notes
Common Skills with Spreadsheets
When working with spreadsheets, you need more than just basic data entry skills. Just like in word processing, spreadsheets offer powerful tools for formatting, checking accuracy, and preparing professional-looking documents for sharing or printing. Understanding these common skills will help you create polished, error-free spreadsheets that communicate your data effectively.
Page layout and setup
Setting up your spreadsheet's page layout is crucial for creating professional documents that print correctly and look good when shared. The page layout controls how your spreadsheet appears on paper and affects the overall presentation of your work.
Understanding margins
Margins create the white space around your content when printing. They ensure that your data doesn't get cut off at the edges and provide visual breathing room that makes your spreadsheet easier to read. You can think of margins as invisible borders that keep your content safely within the printable area of the page.
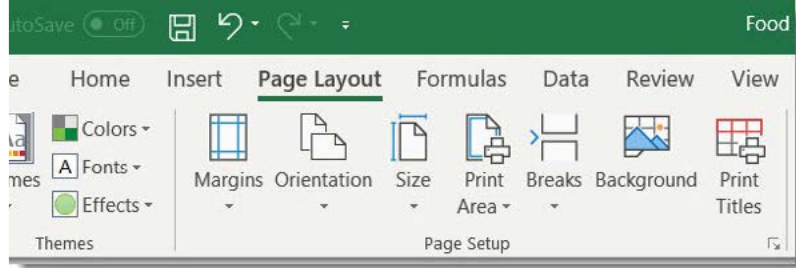
To adjust margins in Excel, navigate to the Page Layout tab and locate the Page Setup group. From here, you can select the Margins option to choose from preset margin sizes like Wide, Normal, or Narrow. The Wide option gives you more white space around your content, while Narrow maximises the space available for your data.
The right margin choice depends on your content and purpose. Use Wide margins for formal reports that need extra white space, Normal margins for general use, and Narrow margins when you need to fit more data on a single page.
Setting custom margins
Sometimes the preset margin options don't meet your specific needs. When this happens, you can create custom margins that fit your exact requirements. This is particularly useful when you're working with specific printing requirements or when you want to fit more data on a single page.
Setting Custom Margins Step-by-Step:
- Navigate to the Page Layout tab
- Select Margins from the Page Setup group
- Choose Custom Margins from the dropdown
- In the dialogue box, specify measurements for:
- Top, bottom, left, and right margins
- Header and footer margins (if needed)
- Use Center on page options (Horizontally and Vertically) to position content in the middle
- Click OK to apply your custom settings
Page orientation options
Page orientation determines whether your spreadsheet is wider than it is tall (Landscape) or taller than it is wide (Portrait). This choice significantly affects how your data fits on the page and how readable it is when printed.
Choosing the Right Orientation:
- Portrait orientation works well for spreadsheets with fewer columns but more rows, such as lists or simple data tables
- Landscape orientation is better for spreadsheets with many columns, as it provides more horizontal space without cramming data together
To change the orientation, use the Page Layout tab and select Orientation from the Page Setup group. You can then choose between Landscape and Portrait modes depending on your data layout needs.
Paper size selection
Different paper sizes serve different purposes and are available in various regions. The most common size is A4, but you might need other sizes like Letter, Legal, or Executive depending on your requirements or location.
To change the paper size, access the Page Layout tab and select Size from the Page Setup group. You'll see a dropdown menu with various paper size options. After making your selection, remember to change back to Normal View to see how your changes affect the spreadsheet layout.
Proofing and quality control
Before sharing or printing your spreadsheet, it's essential to check for errors. Excel provides several tools to help you maintain accuracy and professionalism in your work.
Spell checking functionality
Spelling errors can undermine the credibility of your work, even if your calculations are perfect. Excel includes a comprehensive spell checker that can identify and help correct spelling mistakes throughout your workbook.
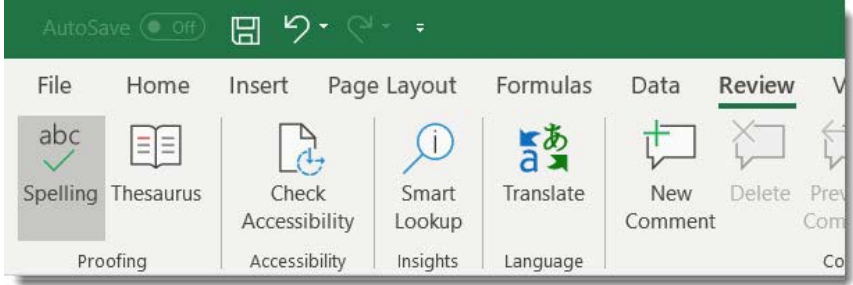
The Spell Check tool is located in the Review tab under the Proofing group. When you run spell check, Excel examines all the text in your worksheet and highlights potential spelling errors. For each error it finds, the spell checker suggests correct spellings that you can accept or ignore. You can also add words to your personal dictionary if they're correct but not recognised by Excel.
Always run spell check before finalising any spreadsheet, especially if it will be shared with others or used in professional settings. A single spelling error can make your entire document appear unprofessional.
Find and replace features
The Find and Replace function is incredibly useful for making consistent changes across large spreadsheets. Instead of manually searching through hundreds or thousands of cells, you can let Excel do the work for you.
You can access Find and Replace through the Home tab in the Editing group, or use the keyboard shortcut Ctrl+H. This tool allows you to search for specific text, numbers, or even formatting, and replace it with something else throughout the entire worksheet or selected range.
Using Find and Replace Effectively:
Scenario: You've consistently misspelt "Acme Corporation" as "Acme Corperation" throughout a 500-row spreadsheet.
Steps:
- Press Ctrl+H to open Find and Replace
- In Find what: type "Acme Corperation"
- In Replace with: type "Acme Corporation"
- Choose Replace All to fix all instances at once
- Excel will show how many replacements were made
This saves hours of manual editing and ensures consistency across your entire document.
Adding visual elements
Visual elements like pictures and charts can make your spreadsheets more engaging and easier to understand. While we'll focus on inserting pictures here, remember that visual elements should enhance your data presentation, not distract from it.
Inserting illustrations and pictures
Adding pictures to your spreadsheet can help illustrate concepts, show products, or simply make your document more visually appealing. Excel makes it easy to insert pictures from your computer files.
To insert a picture, first select the cell where you want the top-left corner of the image to appear. Then navigate to the Insert tab and find the Illustrations group. Click on Pictures to browse your computer files and select the image you want to insert.
After inserting a picture, Excel automatically opens the Picture Format tab, which provides tools for adjusting the image's appearance, size, and position. You can crop, resize, add effects, or change the picture's properties to better fit your spreadsheet's design.
Printing and output preparation
Printing spreadsheets requires careful planning to ensure your data appears correctly on paper. Unlike digital viewing, printed spreadsheets have fixed page boundaries that can cut off important information if not properly configured.
Setting up for printing
Page layout becomes critically important when preparing to print. You need to consider what data will fit on each page and how to make it readable. If you don't set a specific print area, Excel will print everything in your worksheet, which might result in many unnecessary blank pages.
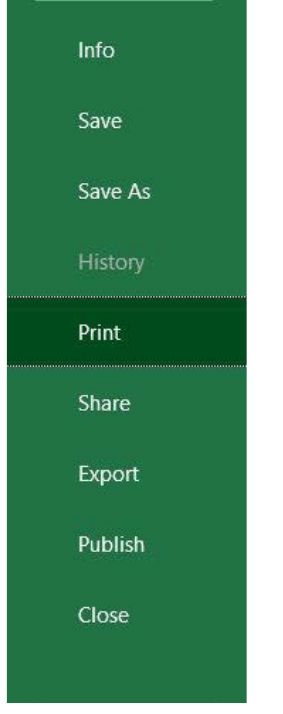
Always use Print Preview before printing! Access it through the File menu by selecting Print. This allows you to see exactly how your spreadsheet will look on paper and make necessary adjustments to page orientation, margins, or scaling to ensure optimal results.
Print options and controls
Excel offers several printing options to help you control exactly what gets printed. You can choose to print the entire workbook, just the active worksheet, or only a selected range of cells. There's also an option to print only the active sheets, which is useful when working with multi-sheet workbooks where you only need certain sections.
The Print Area function in the Page Layout tab allows you to define exactly which cells should be included in your printout. This is particularly useful for large spreadsheets where you only want to print specific sections, helping you save paper and focus attention on the most important data.
When setting up printing, also consider the number of copies needed and whether you want to print in colour or black and white, depending on your printer capabilities and the importance of colour in your data presentation.
Key Points to Remember:
- Page layout setup is essential - Always configure margins, orientation, and paper size before finalising your spreadsheet to ensure professional printing results
- Proofread before sharing - Use spell check and review your data carefully, as errors can damage your credibility and confuse your audience
- Find and replace saves time - For large spreadsheets, use this feature to make consistent changes quickly instead of editing cells individually
- Print preview prevents waste - Always preview your document before printing to avoid reprinting due to formatting issues
- Visual elements enhance understanding - Add pictures thoughtfully to support your data story, but don't let them overshadow the important information