File Management in Word Processing (Grade 10 NSC Matric Computer Application Technology): Revision Notes
File Management in Word Processing
File management is one of the most essential skills you need to master when working with word processing applications like Microsoft Word. Understanding how to create, open, save, and manage your documents properly will help you stay organised and ensure your work is never lost. This comprehensive guide will take you through all the fundamental file management operations you'll use regularly.
Creating a new blank document
When you start working on a new project, you'll need to create a fresh document. This process is straightforward and gives you a clean workspace to begin your work.
To create a new document, you need to access the Backstage view by clicking on the File tab. From there, select "New" and then choose "Blank document". Once you make this selection, a new empty document will open, ready for you to start typing and formatting your content.
This method ensures you're starting with a document that has default settings and formatting, giving you complete control over how your final document will look.
Opening an existing document
Sometimes you'll need to continue working on a document you've previously saved. There are several ways to open existing documents, and choosing the right method can save you time and effort.
There are two main methods for opening documents: using File Explorer or using the Backstage view. Each method has its advantages depending on your situation and workflow preferences.
Method 1: Using file explorer
File Explorer is Windows' built-in file management application that allows you to browse through folders and files on your computer. This method is particularly useful when you know roughly where your document is stored.
To use this method, open File Explorer by clicking on the file icon in your taskbar or by typing "File Explorer" into the search box. Navigate to the folder containing your document, then double-click on the file to open it directly in Word.
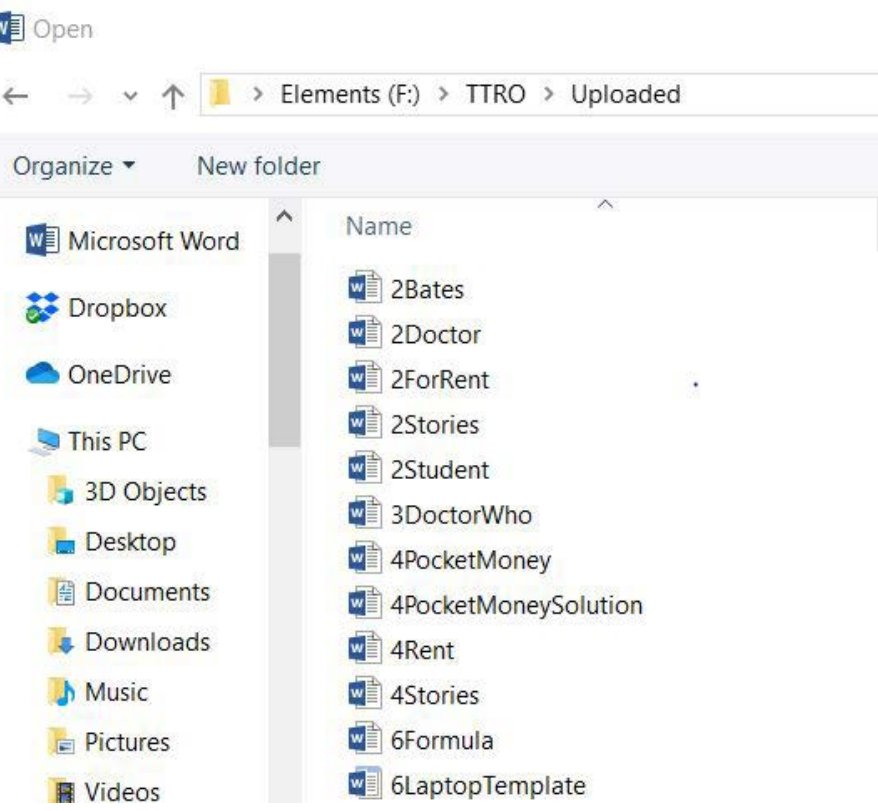
This approach gives you a clear view of your file structure and allows you to see all the Word documents in a particular folder at once.
Method 2: Using the backstage view
The second method involves using Word's built-in file management system through the Backstage view. This method is often more convenient when you're already working in Word.
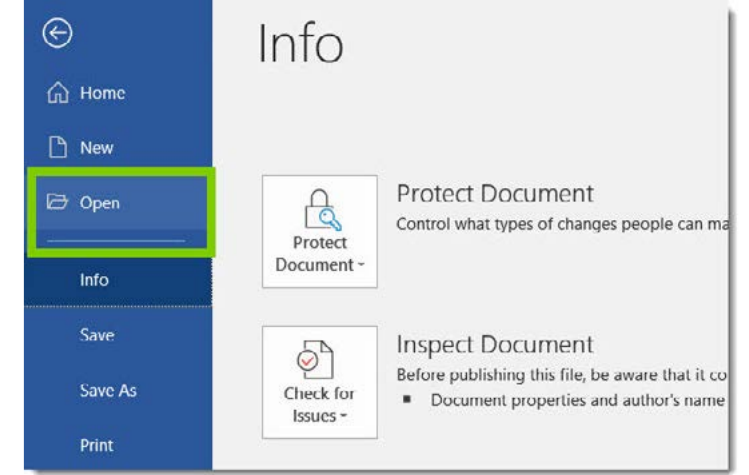
Access the Backstage view by selecting File, then choose "Open". This will show you various storage locations including recent files, cloud storage options like OneDrive and Dropbox, and your local computer ("This PC").
The Recent Files list is particularly helpful because it shows documents you've worked on recently, eliminating the need to remember exactly where you saved them.
When you can't find your document in the recent files list, you can select "Browse" to navigate through your computer's folders.
When you can't find your document in the recent files list, select "PC" and then "Browse" to open a traditional file browser window. This allows you to search through your computer's folder structure to locate the specific document you need.
Once you find and select your document, click "Open" to load it into Word for editing.
Save and save as
Understanding the difference between Save and Save As is crucial for proper document management. These two commands serve different purposes and using the wrong one at the wrong time can lead to confusion or lost work.
Critical Distinction:
- Save: Updates your current document with changes
- Save As: Creates a new version while keeping the original unchanged
This is one of the most important concepts in file management!
The save command
The Save command updates your current document with any changes you've made. When you first save a new document, Word will prompt you to choose a filename and location. For documents that have already been saved, this command simply updates the file with your latest changes.
The keyboard shortcut Ctrl+S is the quickest way to save your work, and you should use it frequently to avoid losing any changes.
The save as command
Save As is used when you want to create a new version of your document while keeping the original unchanged. This is particularly useful when you need to create variations of a document or when you want to make a backup copy.
Practical Example: Using Save As
Step 1: You have a document called "Essay Draught"
Step 2: Select File > Save As
Step 3: Change the filename to "Essay Final"
Step 4: Click Save
Result: You now have both "Essay Draught" (original) and "Essay Final" (new version) saved separately.
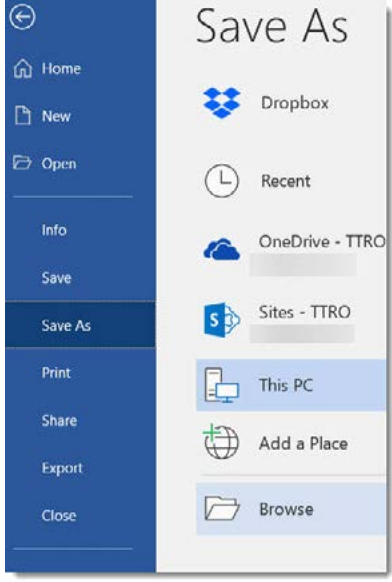
When you use Save As, you must provide a new filename or choose a different location (or both). The Save As dialogue gives you access to various storage locations, including cloud services, recent locations, and your local computer. Choose the appropriate location and provide a meaningful filename that will help you identify the document later.
After saving a document for the first time using Save As, subsequent uses of the regular Save command will update this new version, leaving your original document untouched.
Closing a document
When you finish working on a document, it's important to close it properly. This ensures your work is saved and prevents any data loss.
Word provides several ways to close a document. You can select File and then Close from the Backstage view, or you can click the X button in the top-right corner of the application window.
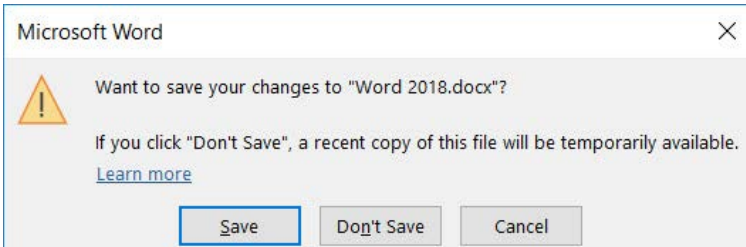
If you've made changes to your document since the last save, Word will display a dialogue box asking whether you want to save your changes. This safety feature prevents accidental loss of work. You have three options:
- Save: This saves your changes and closes the document
- Don't Save: This closes the document without saving recent changes
- Cancel: This cancels the close operation, returning you to your document
Always be careful with the "Don't Save" option, as this will permanently lose any work you've done since your last save. When in doubt, it's safer to save your changes using the Save button or by pressing Ctrl+S before attempting to close.
Printing with word
Once you've completed your document, you may need to print a hard copy. Word provides comprehensive printing options through the Print pane.
Accessing the print pane
To access printing options, select the File tab to open the Backstage view, then choose "Print". Alternatively, you can use the keyboard shortcut Ctrl+P to open the print pane directly.

Print settings and options
The Print pane shows you several important elements:
Print Pane Components:
- Print button: Initiates the actual printing process
- Copies field: Specify how many copies you want
- Printer selection: Choose which printer to use from available options
Print button: This large button initiates the actual printing process. Make sure all your settings are correct before clicking this button.
Copies: This field allows you to specify how many copies of your document you want to print. You can either type a number or use the arrow buttons to adjust the quantity.
Printer selection: This dropdown menu shows all available printers. If you have multiple printers connected to your computer or network, you can choose which one to use.
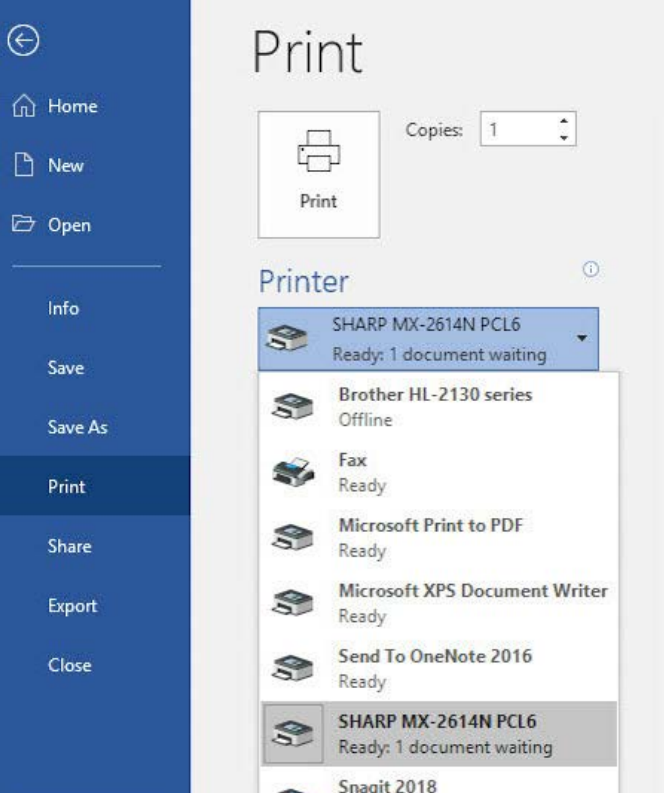
The printer list will show various options including physical printers, virtual printers (like "Microsoft Print to PDF" for creating PDF files), and other output options. Each printer entry shows its current status, such as "Ready" or "Offline".

Step-by-Step Printing Process
Step 1: Press Ctrl+P to open the Print pane
Step 2: Select the appropriate printer from the dropdown
Step 3: Set the number of copies needed
Step 4: Verify the printer status shows "Ready"
Step 5: Click the Print button to start printing
Before printing, always verify that:
- The correct printer is selected
- The number of copies is set appropriately
- The printer status shows "Ready"
- You have sufficient paper and ink/toner
This careful checking prevents wasted resources and ensures your document prints correctly the first time.
Key Points to Remember:
- Always save frequently using Ctrl+S to prevent losing your work due to unexpected shutdowns or crashes
- Understand the difference between Save (updates current document) and Save As (creates new version)
- Use meaningful filenames and organise documents in logical folders to make them easier to find later
- Check the Recent Files list first when opening documents, as it's often the quickest way to access your work
- Always verify print settings before clicking Print to avoid wasting paper and supplies