Integration Techniques (Grade 12 NSC Matric Computer Application Technology): Revision Notes
Integration Techniques
Integration techniques in word processing allow you to combine information from different Microsoft applications into a single document. This powerful feature saves time and creates more dynamic, professional documents that can automatically update when source data changes.
What is integration?
Integration of Microsoft programmes enables you to take information from databases, spreadsheets, or other applications and incorporate it into your word processing document. This approach offers several benefits:
- Time-saving: Instead of retyping data, you can directly import it
- Accuracy: Reduces errors from manual data entry
- Efficiency: Promotes the use of integrated programmes across the Microsoft Office suite
- Professional results: Creates polished documents with current data
Integration is particularly valuable in professional environments where data frequently changes and multiple team members need access to the most current information.
However, it's important to remember that not all data remains static over time. This is where understanding the difference between embedded and linked objects becomes crucial.
Embedding objects
Embedded objects allow you to take information from another document and make it a permanent part of your main document. When you embed an object, the data becomes independent of its original source.
Key characteristic: The main difference between embedded and linked objects is that embedded objects do not change if you modify the source file. Once embedded, the object exists separately in your document.
How to embed an Excel spreadsheet
Let's walk through the process using student data from a spreadsheet:
Worked Example: Embedding an Excel Spreadsheet
Step 1: Prepare your data
- Open the source spreadsheet (e.g., GAct3.9(Insert).xlsx)
- Select and copy the data you want to embed
- Use Ctrl+C or right-click and select Copy
Step 2: Insert into Word document
- Open your Word document
- Position your cursor where you want the data to appear
- Go to the Home tab and click the dropdown arrow next to Paste
- Select Paste Special from the Clipboard section
Step 3: Choose embedding options
- In the Paste Special dialogue box, select Paste (not Paste link)
- Choose Microsoft Excel Worksheet Object from the format list
- Click OK
The data will now appear in your Word document as an embedded table that you can edit independently of the original spreadsheet.
Linking objects
Linked objects work differently from embedded ones. The data from linked objects is stored in the source document, which means any changes to the source document will automatically update the linked object in your Word document.
This dynamic connection is particularly useful when working with data that changes regularly, such as:
- Student grades that get updated throughout a term
- Sales figures that change monthly
- Inventory levels that fluctuate daily
Linked objects are ideal for collaborative environments where multiple people might be updating the source data, ensuring everyone always sees the most current information.
How to create a linked object

Worked Example: Creating a Linked Object
Step 1: Copy source data
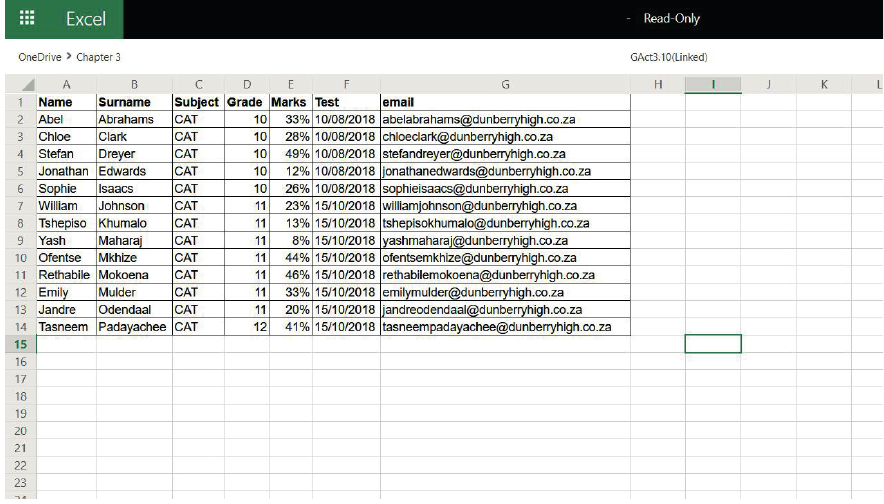
- Open the source spreadsheet (e.g., GAct3.10(Linked).xlsx)
- Highlight the data range you want to link
- Right-click and select Copy (or use Ctrl+C)
Step 2: Prepare the Word document
- Open your Word document
- Click where you want to insert the linked data
- Navigate to Home tab > Paste dropdown > Paste Special
Step 3: Create the link
- In the Paste Special dialogue, select Paste link (not just Paste)
- Choose your preferred format from the list
- Click OK
The result shows a message confirming that "Paste link creates a shortcut to the source file. Changes to the source file will be reflected in your document."
Hyperlinking
Hyperlinks provide a way to connect objects or text in your document with external resources. You can link to:
- External programmes
- Other documents
- Websites
- Different sections within the same document
- Email addresses
Creating hyperlinks
The process of creating hyperlinks is straightforward and provides powerful navigation capabilities within and beyond your document.
Worked Example: Creating Hyperlinks
Step 1: Select your anchor Choose the word, phrase, or object you want to turn into a hyperlink.
Step 2: Access the Link function
- Click the Link option in the Links section of the Insert tab
- This opens the Insert Hyperlink menu
Step 3: Choose your link type Select from the following options under Link to:
- Existing File or Web page: Links to external files or websites
- Place in This document: Creates internal document navigation
- Create a New Document: Links to a document that doesn't exist yet
- Email Address: Creates a mailto link
Step 4: Complete the link Enter the appropriate address, file path, or email address, then click OK.
Important reminder: After creating any hyperlink, always test it to ensure it works correctly!
Practical applications
Integration techniques are particularly valuable in educational and business contexts where efficiency and accuracy are paramount:
- Reports: Embed charts and data tables from Excel into Word reports
- Newsletters: Link to frequently updated information that changes between editions
- Presentations: Create hyperlinks to additional resources or related documents
- Academic work: Include dynamic data that updates as research progresses
Consider your audience and purpose when choosing between embedding and linking. If recipients need to access your document offline or the source data won't change, embedding might be better. For collaborative work with changing data, linking is often preferred.
Common integration examples
Beyond the techniques covered above, other integration methods include:
- Mail merging: Combining database information with form letters
- Chart integration: Importing graphs and visualisations from Excel
- Image linking: Connecting to pictures stored in specific locations
These advanced techniques build upon the fundamental concepts of embedding and linking to create even more sophisticated document workflows.
Key Points to Remember:
- Embedded objects become part of your document and won't change even if the source file is updated - use when you want a snapshot of data at a specific point in time
- Linked objects maintain a connection to their source and will automatically update when the original file changes - use when you need current, dynamic data
- Hyperlinks create clickable connections to external resources, other documents, or different parts of the same document
- Always test your links and integrations to ensure they work properly before finalising your document
- Integration saves time and reduces errors compared to manually retyping information