Addition (AQA GCSE Design and Technology): Revision Notes
Addition in electronic and mechanical systems
What is addition in electronics?
In electronic systems, "addition" refers to the process of adding components to circuit boards through soldering. This is a fundamental skill that allows you to build and repair electronic circuits by permanently connecting components to printed circuit boards (PCBs).
Essential soldering tools and equipment
Understanding the right tools is crucial for successful soldering. Each tool serves a specific purpose in creating reliable electrical connections.
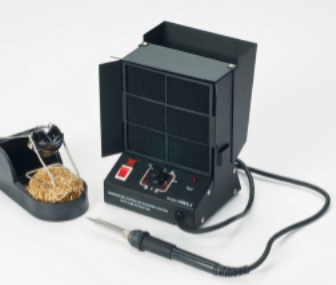
Soldering iron, stand and sponge: The heart of your soldering setup. The iron provides controlled heat to melt solder, while the stand keeps it safe when not in use. The damp sponge cleans the tip between soldering tasks, ensuring good heat transfer.
 Solder wire: This is your joining material, typically made from 60% tin and 40% lead. This composition gives it a low melting point, making it perfect for electronics work. In educational settings, lead-free versions are often used for safety.
The 60/40 tin-lead composition is specifically chosen because it creates a eutectic alloy - this means it has the lowest possible melting point for this combination of metals, making it ideal for delicate electronic components.
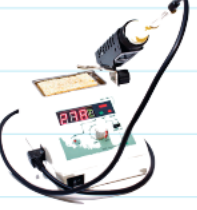
Helping hands tool: This clever device holds your work steady while you solder. It features a light and magnifying glass for close work, plus adjustable clips to grip your circuit board and components securely.
Fume extractor: Safety equipment that removes harmful fumes from melted solder. The device has pads that absorb solder fumes, making your workspace much safer for extended soldering sessions.
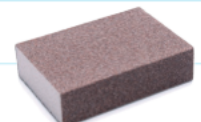
 PCB track cleaner: An abrasive tool that removes oxides and dirt that might prevent solder from adhering properly to copper tracks. Clean surfaces are essential for strong, reliable connections.
Setting up your soldering workspace
Proper preparation prevents problems and ensures safe working conditions. Follow these four key steps:
Workspace Setup Process:
Step 1: Heat the soldering iron and switch on extraction
- Allow your iron to reach the correct temperature while your fume extractor removes harmful vapours from your workspace
Step 2: Clean tracks to ensure a clean joint
- Use your PCB track cleaner to remove any oxidation or dirt from the copper tracks where you'll be soldering
Step 3: Steady the circuit board in the helping hand tool
- Secure your PCB so it won't move during soldering. This prevents accidents and ensures precise work
Step 4: Insert components to be soldered
- Place your components through the correct holes in the PCB, ready for soldering
The soldering process step-by-step
Master this five-step technique for professional-quality solder joints:
The Complete Soldering Process:
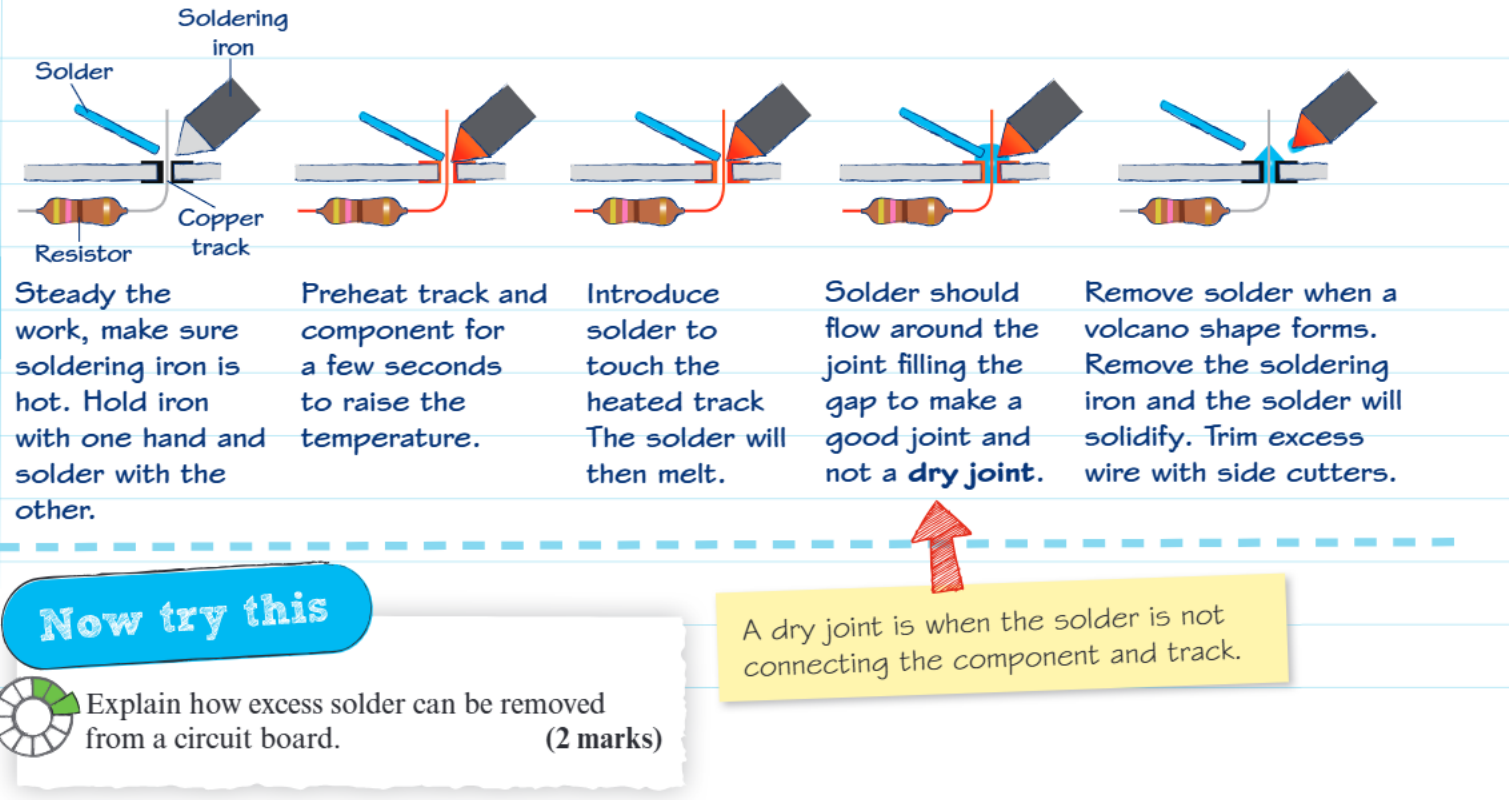
Step 1 - Steady the work Hold your iron in one hand and solder wire in the other. Make sure the iron is hot and ready. Keep everything steady and controlled.
Step 2 - Preheat track and component Heat both the copper track and the component leg for a few seconds. This raises their temperature so the solder will flow properly when introduced.
Step 3 - Introduce solder Touch the solder wire to the heated track. The solder should melt immediately due to the heat from the track and component, not directly from the iron.
Step 4 - Let solder flow Allow the molten solder to flow around the joint, filling the gap completely. You should see it form a good connection between the component and track, avoiding dry joints.
Step 5 - Remove iron when volcano shape forms Once the solder has flowed properly and created a cone-like "volcano" shape around the joint, remove the iron. Let the joint cool without moving it.
Understanding flux and its importance
Why Flux Matters
Flux plays a critical role in successful soldering. It contains cleaning agents that prevent metal surfaces from oxidising during the heating process. Without flux, oxygen would react with the heated metals, forming oxides that prevent good solder adhesion. Flux also improves solder flow across surfaces by helping heat transfer from the soldering iron to the joint area.
Common problems and solutions
Avoiding Common Soldering Mistakes
Dry joints: This occurs when solder doesn't properly connect the component to the track. It might look like a good joint but provides poor electrical connection. To avoid dry joints, ensure both surfaces are properly heated before introducing solder.
Excess solder removal: If you apply too much solder, it can create short circuits by bridging between tracks. Use a desoldering pump to remove excess molten solder. This tool sucks up unwanted solder, allowing you to start again with the correct amount.
Short circuits: When solder accidentally crosses between different tracks, it creates unwanted electrical connections. Always work precisely and remove any solder bridges immediately.
Safety considerations
Critical Safety Requirements
Soldering involves high temperatures and potentially harmful fumes. Always use proper ventilation or a fume extractor. Keep your workspace organised to prevent accidents. Never touch the hot iron tip, and always return the iron to its stand when not in use.
Key Points to Remember:
- Preparation is key - Clean surfaces and steady components before starting to solder
- Heat the joint, not the solder - Let the heated components melt the solder for better flow
- Flux prevents oxidation - It cleans surfaces and helps solder flow properly
- Dry joints cause connection problems - Ensure proper heating to avoid weak joints
- Safety first - Always use fume extraction and handle hot tools carefully