Desk Organiser (Junior Cert Wood Technology): Revision Notes
📚 Revision Notes
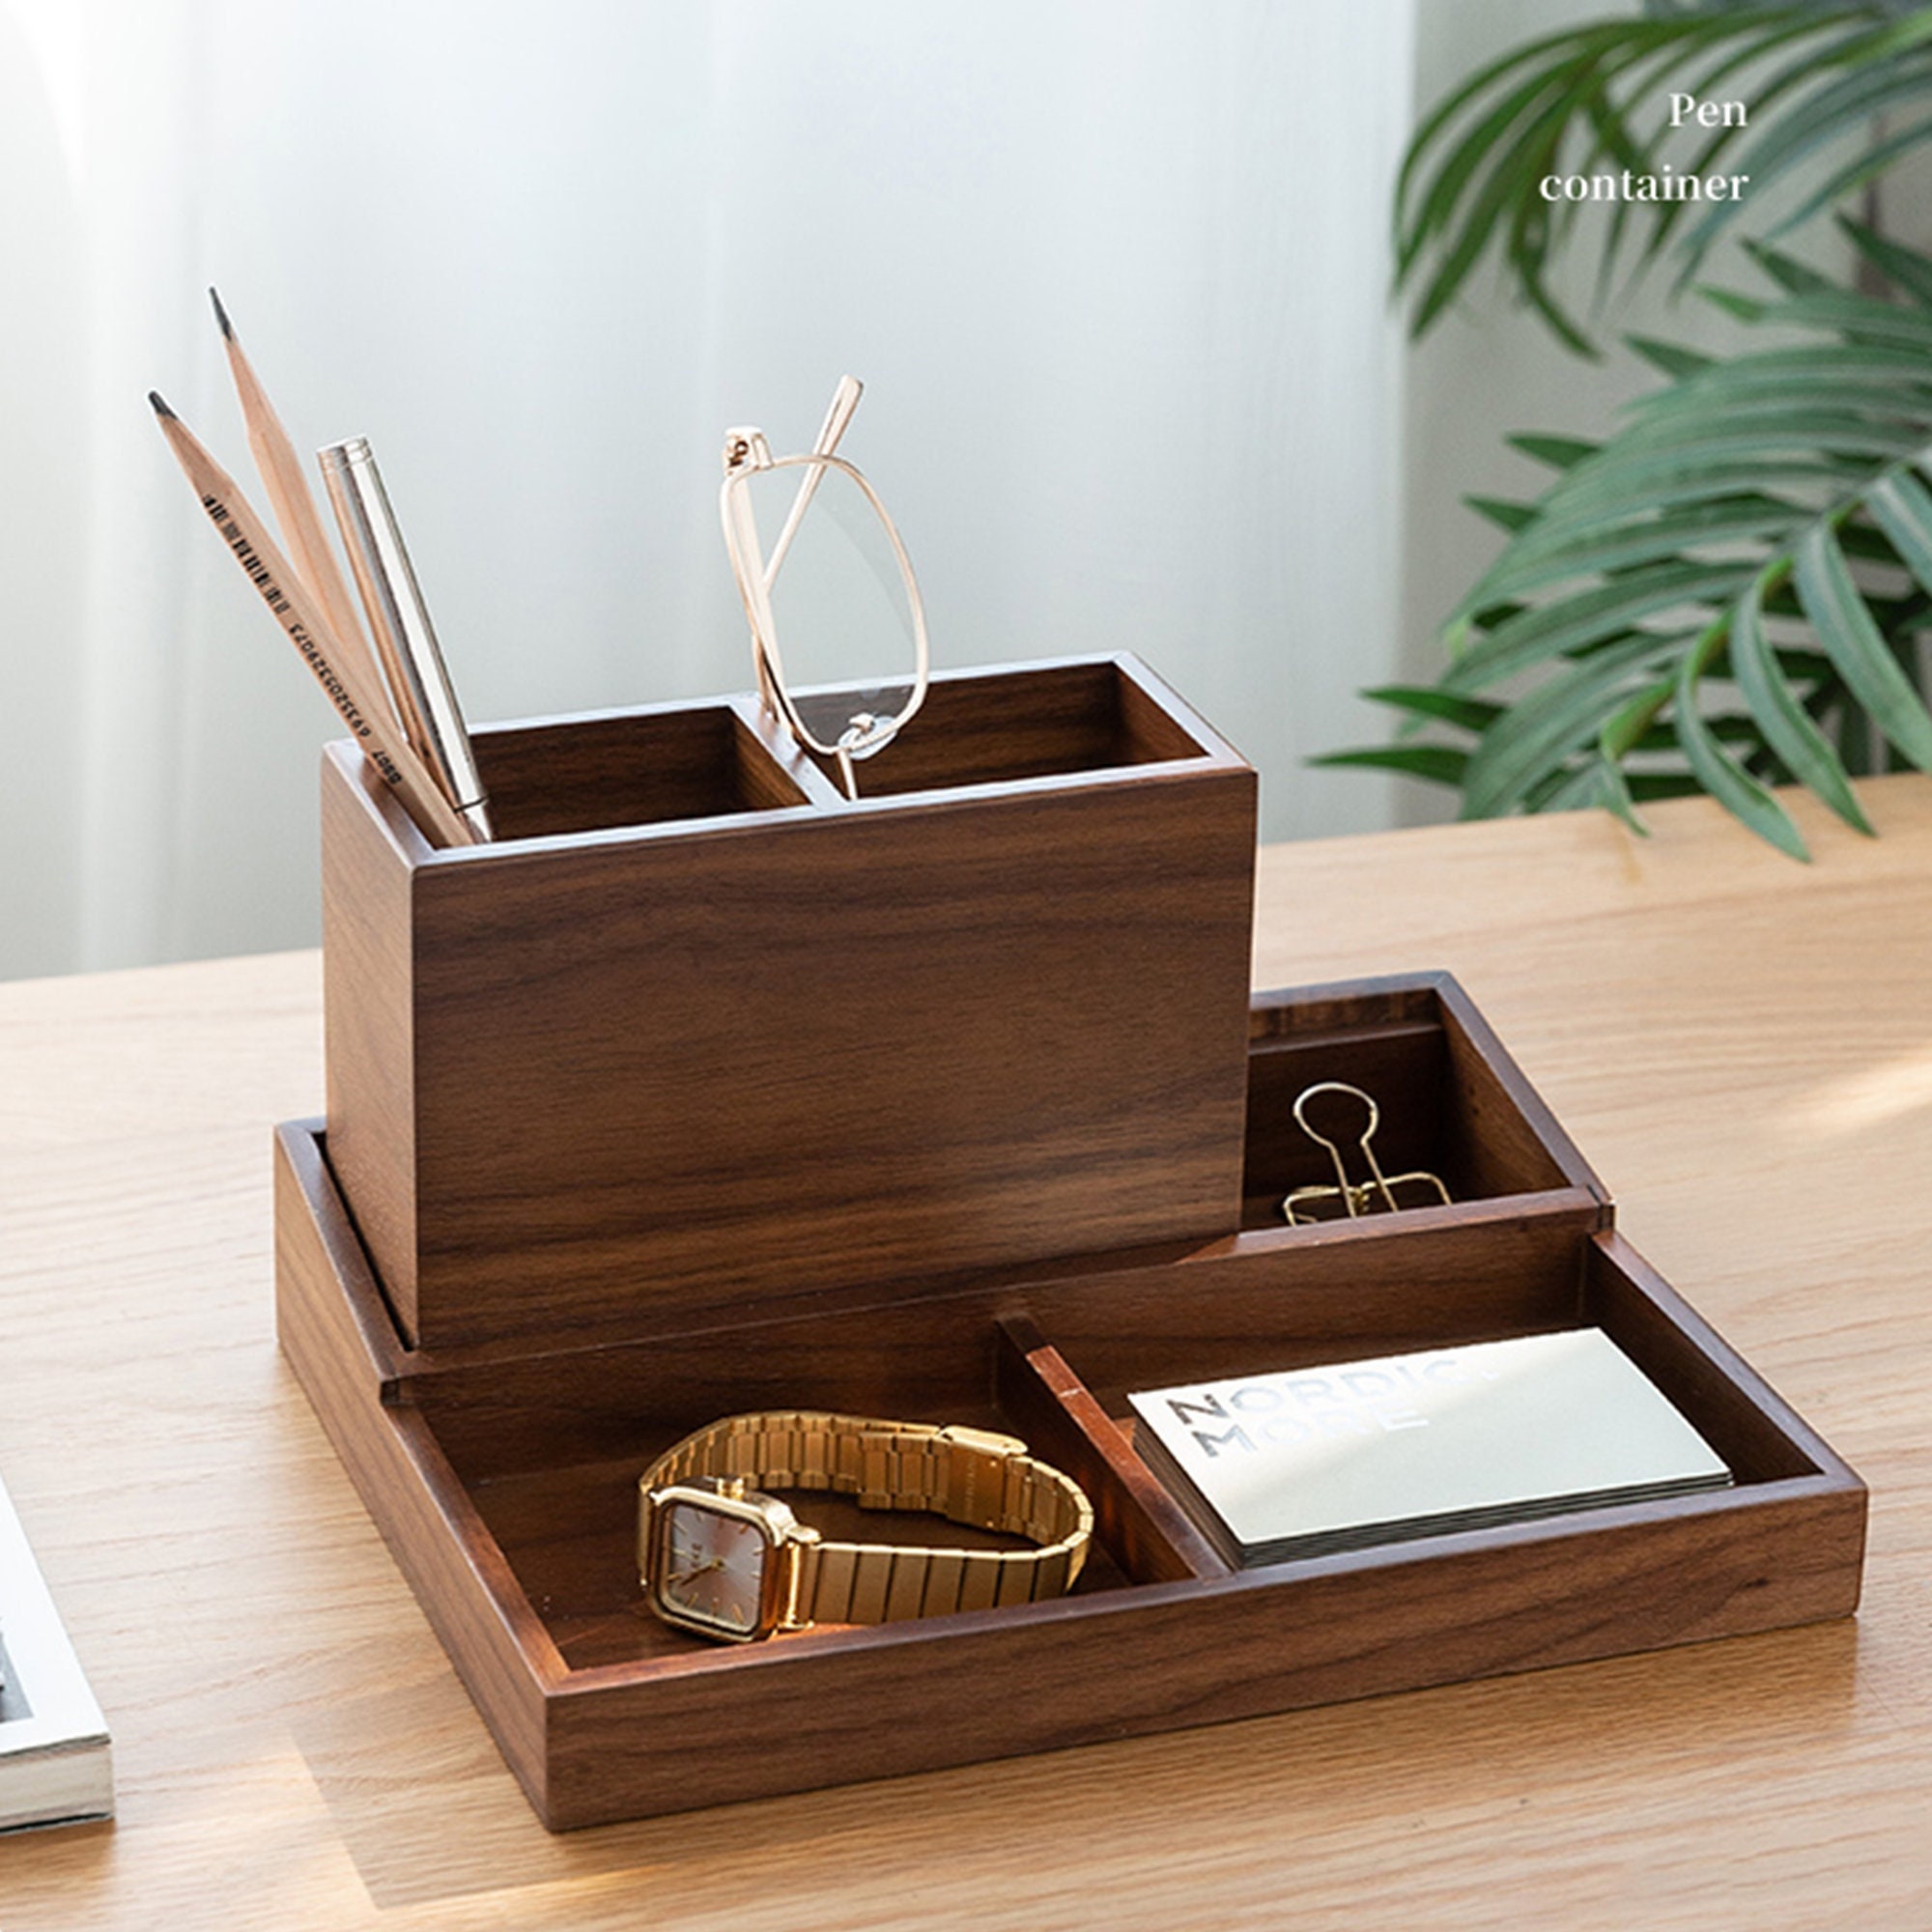
Desk Organiser Design
Introduction
- A desk organiser keeps your workspace tidy and clutter-free. It enhances productivity by minimising time spent searching for items and supports an ergonomic workstation to potentially reduce workplace injuries.
Design Considerations
infoNote
Ensuring a clutter-free workspace is essential for increased productivity and can potentially reduce workplace injuries due to better ergonomics.
- Wood Materials:
- Pine is suitable because it is light and affordable, making it easy to handle and economical for projects.
- Oak is an excellent choice due to its durability and ability to provide a fine finish.
- Plywood is versatile and cost-effective.
- Ergonomic Design: Consider ease of access and the compartment heights to ensure comfort and prevent strain. Ensure commonly used items are within easy reach.
- Aesthetic Design: Choose colour and texture to match and enhance your personal workspace ambiance and style.
| Wood Type | Durability | Cost | Aesthetic Look |
|---|---|---|---|
| Pine | Moderate | Low | Light, simple |
| Oak | High | High | Rich, elegant |
| Plywood | Moderate | Low | Simple, versatile |
Construction Steps
chatImportant
Ensure accuracy in measurements and cuts; this is critical for a stable assembly.
- Step 1: Start by measuring and marking the dimensions on your chosen wood.
- Step 2: Cut the marked wood pieces using a saw ensuring accuracy.
- Step 3: Assemble using dovetail joints or screws, applying glue to strengthen the joins for stability.
- Step 4: Sand all surfaces progressively using finer sandpaper until smooth.
- Step 5: Apply a base coat of primer if painting, then sand lightly between coats. Finish with varnish for protection.
Tools and Techniques
- Tools: Saw, drill, clamps, and sanders will be needed.
- Cutting Techniques: Measure precisely and cut carefully for accurate assembly.
- Joining Techniques: Use glue for aesthetic joins and structure; use nails for added strength if necessary.
- Sanding Tip: To achieve a smooth finish, sand the wood progressively using finer sandpaper grades.
Safety Precautions
chatImportant
Always wear protective gear like goggles and dust masks when using saws and drills.
- Keep your workspace tidy to prevent accidents.
- Be cautious of sharp tools and moving parts to avoid cuts or injuries.

Final Assembly and Finishing
- Assemble pieces carefully, ensuring stability and reliability in the finished product.
- Apply a base coat and allow it to dry. Sand lightly between additional coats for a smooth finish. Finalise with a varnish to enhance durability.
infoNote
Sanding lightly between coats is key to achieving a smooth, professional-grade finish.
Evaluation Checklist
infoNote
Research has found consistent evaluation ensures quality in crafted projects.
- Check if the organiser securely holds all intended items.
- Ensure the construction is stable and without wobble.
- Verify that all surfaces are smooth and splinter-free.
- Confirm that the aesthetic finish aligns with the design intentions.