Headphone Holder (Junior Cert Wood Technology): Revision Notes
📚 Revision Notes
Headphone Holder Project
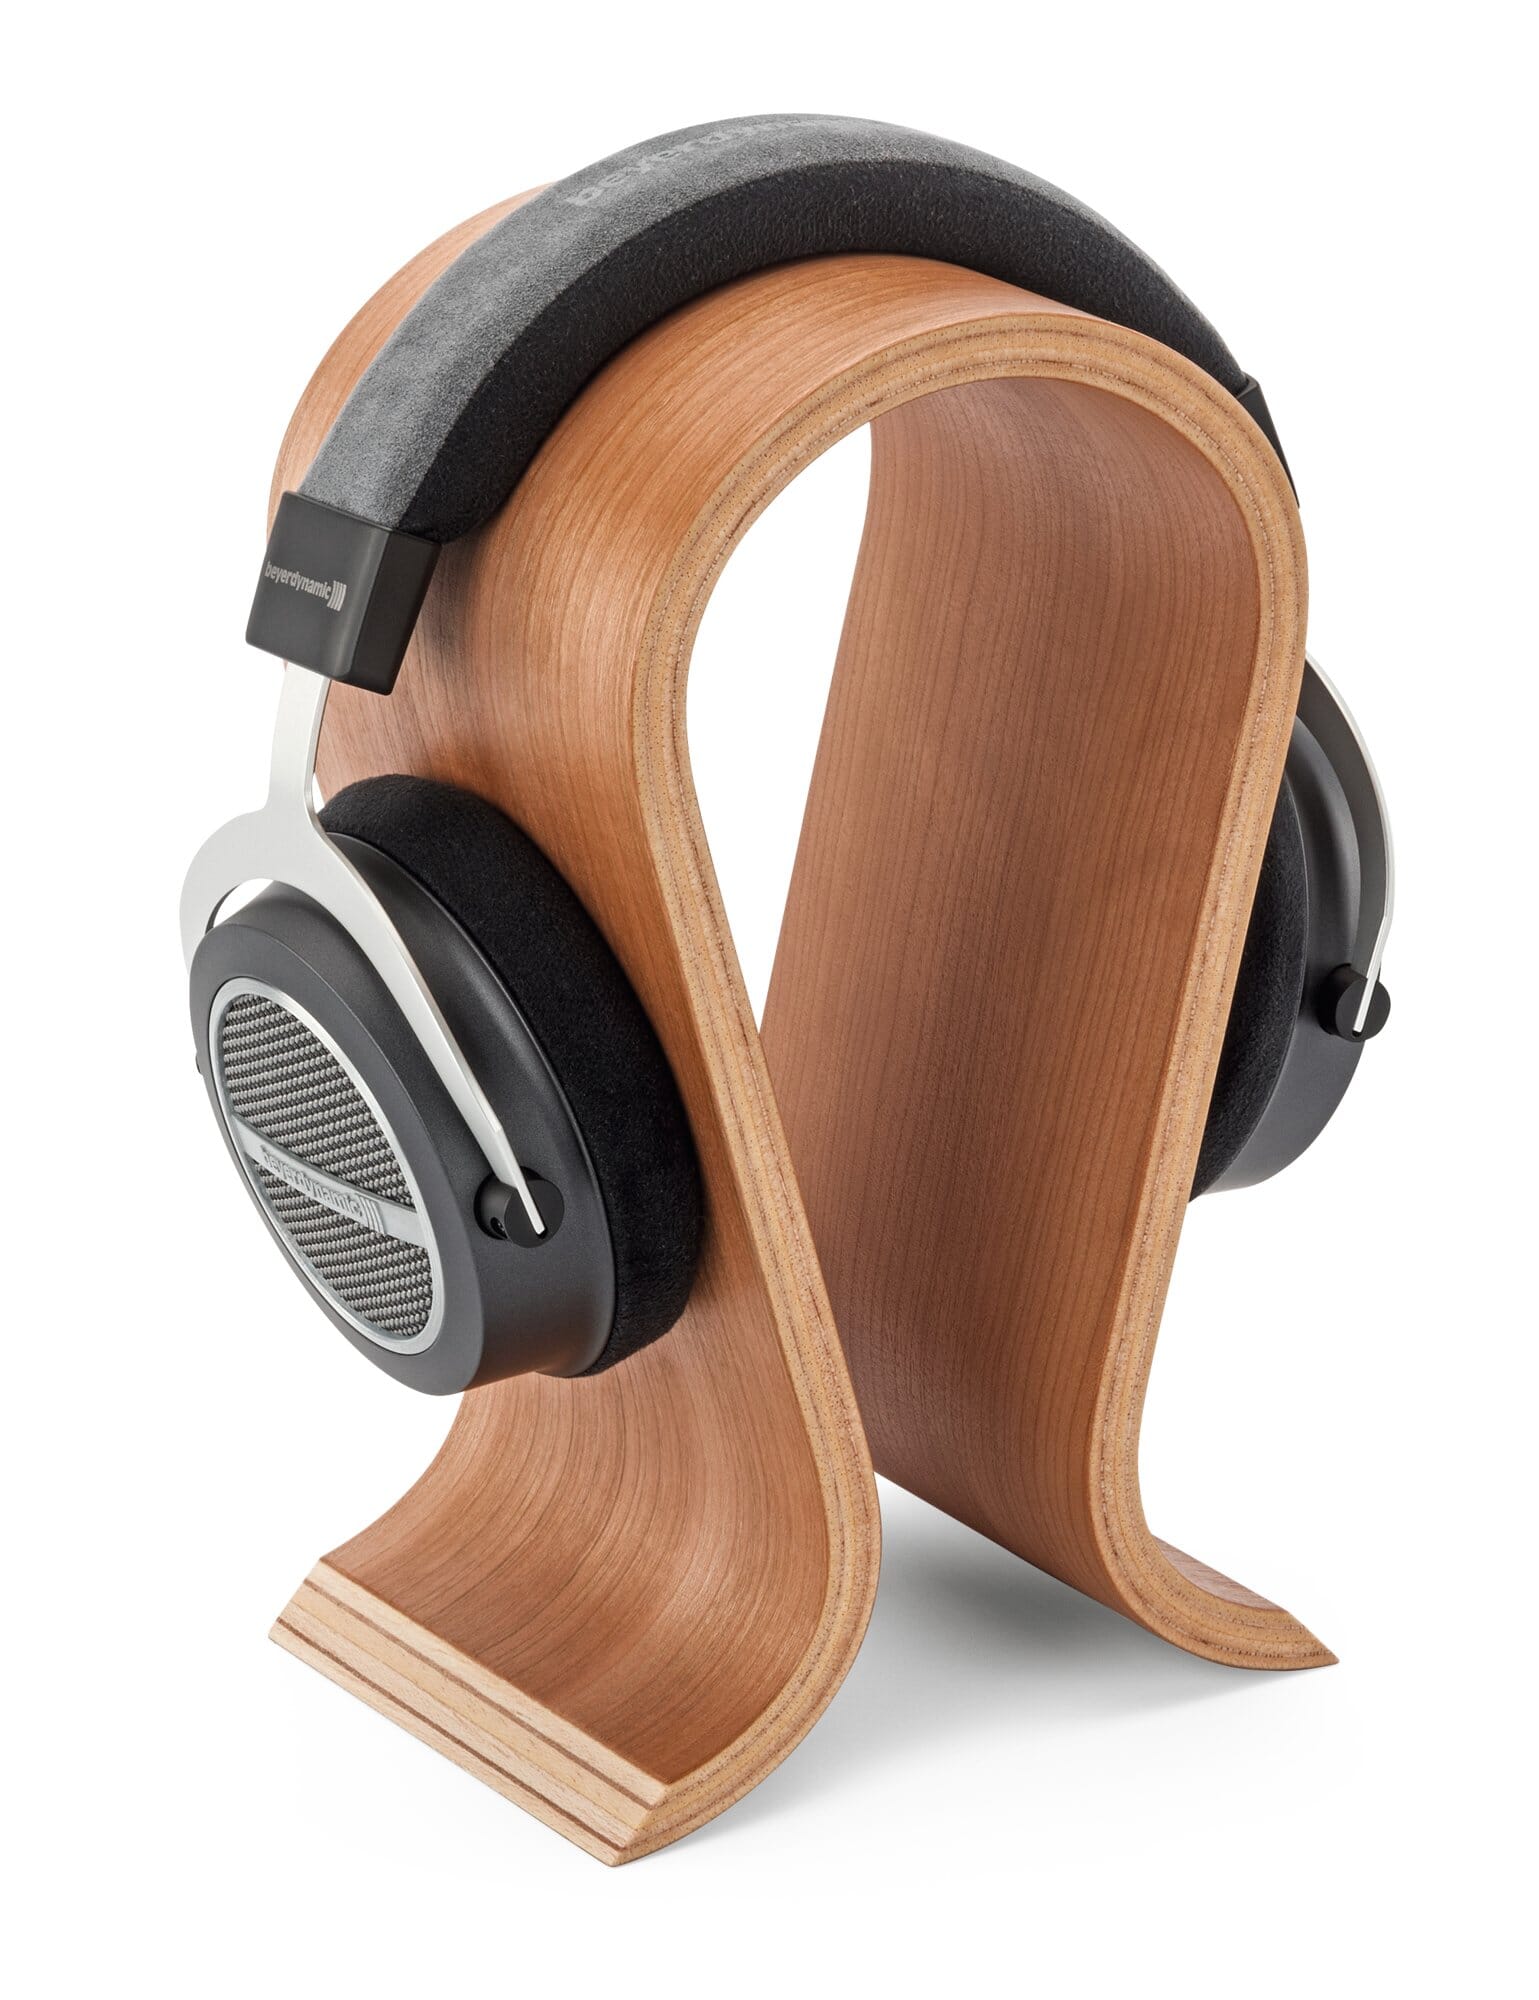
This project is about making a headphone holder, which helps students learn wood technology. It includes picking materials, designing, and building.
Objective
- Organise the workspace by making a spot for headphones
- Stop damage from tangling and falling
- Make headphones easy to reach
- Reduce clutter for a tidy workspace
Materials
Choosing wood involves considering strength, look, and price:
- Oak: Strong, nice grain, more expensive
- Walnut: Deep colour, smooth finish, medium cost
- Pine: Light, easy to use, less strong, cheap
Comparing Woods
- Strength: Oak > Walnut > Pine
- Cost: Oak > Walnut > Pine
- Ease of Use: Pine > Walnut > Oak
Design Options
Types of holders:
- Hooks vs. Stands:
- Hooks are easy to use
- Stands are more stable
- Match Furniture: Designs can fit with furniture
- Custom Shapes: Be creative
infoNote
Building Steps
- Measure: Mark dimensions on wood with a ruler or tape
- Cut: Follow marks with a saw
- Assemble: Use glue and screws to connect pieces
Tools Needed
Tools for the project:
- Drill: Make holes for screws
- Saw: Cut the wood along guide marks
- Sandpaper: Smooth the wood's surface
Safety Tips
- Wear gloves and goggles
- Use tools safely
- Keep the workspace tidy
chatImportant
Ensure to keep a tidy workspace at all times to prevent accidents.
Finishing
Make your holder look nice:
- Sand: Smooth the surface
- Stain: Add colour
- Seal: Protect with varnish or lacquer
Checking Your Work
How to check if the holder is good:
- Checklist: Look at stability and finish
- Durability Test: Check if it withstands use
infoNote
Conclusion
- A headphone holder organises and makes access easy
- Material choice affects strength and appearance
- Build safely and accurately
- Finish well to enhance look and durability