Finishes (Junior Cert Wood Technology): Revision Notes
📚 Revision Notes
Surface Preparation Tools and Methods
- Surface Preparation: The first step in woodworking is to get surfaces ready for finishing by cleaning, smoothing, and fixing imperfections.
- Abrasive Paper: Also known as sandpaper, it smooths wood and comes in different grit sizes for each stage.
- Wood Filler: A material used to fill in defects, like scratches or small holes, creating a smooth finish.
- Heat and Moisture Technique: A method to fix dents by using heat and moisture to swell the wood.
- Scraper: A tool used to remove debris, creating a smooth surface texture.
- Plane: Shaves thin layers off wood, making fine surface adjustments.
Steps in Preparing Wood Surface for Finishing
- Cleaning: Use a vacuum or tack cloth to fully remove dust and debris, leaving a dust-free surface.
- Smoothing:
- Begin with coarse-grit sandpaper to remove roughness; switch to finer grits for a smooth finish.
- Use scrapers to remove thin shavings, with planes helping to shape and refine the surface further.
infoNote
Ensure you select the correct sandpaper grit for each stage. It's essential for achieving a smooth finish.
- Removing Marks:
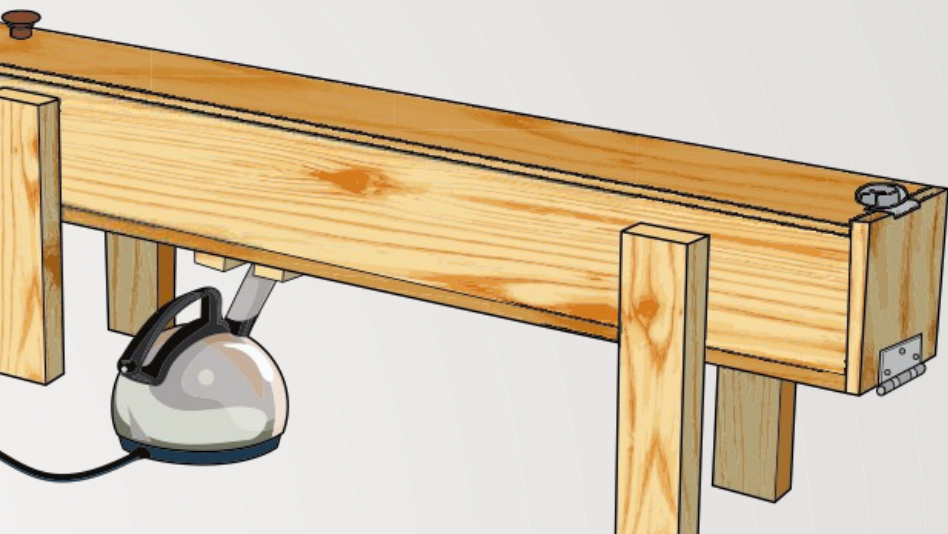
- Apply heat and moisture to repair dents; tools like irons or steamers can help reshape the wood.
- Use care to avoid wood damage and remove leftover debris with scrapers.
chatImportant
Take care to avoid overheating the wood as it can cause damage. This is a common pitfall when using high temperatures.
- Filling Imperfections: Utilise wood fillers for deeper scratches or dents. Let it dry before sanding it to blend with the rest of the wood surface.
- Final Check: Use your hands to feel the surface and check light reflections for smoothness, correcting any issues before finishing.
Tools Used in Surface Preparation
- Sanding Blocks and Power Sanders: Use both manual and electric tools for sanding different surfaces, with power sanders ideal for larger areas.
- Scrapers and Planes: Essential for precise removal and detailed tuning of wood for a high-quality finish.
Tips for Professional-Level Surface Readiness
- Workspace Setup: Keep your workspace clean and organised to prevent dust from contaminating surfaces.
- Tool Selection: Choose tools based on wood type and the surface condition.
infoNote
A clean workspace enhances efficiency and the quality of the preparation process. Make sure all tools are organised properly to prevent mishaps.
- Final Check: Inspect the surface by touch and use good lighting to find imperfections, ensuring preparation before finishing.
chatImportant
Following these steps will ensure a thorough, high-quality finish by addressing every aspect of surface preparation.