Orienting With Another Map (Grade 11 NSC Matric Geography): Revision Notes
Orienting With Another Map
What does orientation mean?
Orient means to position or align something (such as an aerial photograph) with reference to something else (such as a map). When working with aerial photographs, you need to match them up correctly with topographic maps so that the same features appear in the same relative positions on both.
Why use orthophoto maps for orientation?
Orthophoto maps are much easier to work with than regular aerial photographs when you need to orient them with another map. This is because:
- Direction and height information are already provided on orthophoto maps
- You can use the topographic map to identify corresponding features more easily
- Names of roads, residential areas, landforms and approximate heights are clearly marked
- The geometric distortions found in regular aerial photographs have been corrected
Orthophoto maps combine the visual advantages of aerial photography with the geometric accuracy of maps, making them ideal reference tools for orientation work.
Important scale considerations
Remember that aerial photographs and maps often have different scales. This means you cannot use the size of features as a reliable guide when matching them up. Focus on the shape and relative position of landmarks rather than their actual size on the photograph or map.
Scale differences are one of the most common sources of confusion when orienting photographs with maps. Always prioritize geometric relationships over actual feature sizes.
The three-step orientation process
Step 1: Find distinctive landmarks
Look for clear, easily identifiable features that appear on both the aerial photograph and the topographic map. Good landmarks include:
- Road intersections
- Rivers and streams
- Distinctive building patterns
- Prominent landforms
- Coastlines or large water bodies
Match these features between the photograph and map to establish reference points.
Step 2: Identify north direction
Determine which direction is north on the aerial photograph. In South Africa, this is made easier because shadows fall to the south. Look at the shadows in the photograph - they point away from the sun, which means north is in the opposite direction from where the shadows fall.
The South African shadow rule is a reliable method for determining direction because the sun is always positioned to the north of South Africa throughout the year.
Step 3: Turn and align
Physically turn the aerial photograph so that the features match the same positions as those shown on the topographic map. The landmarks you identified in Step 1 should now align properly between both the photograph and map.
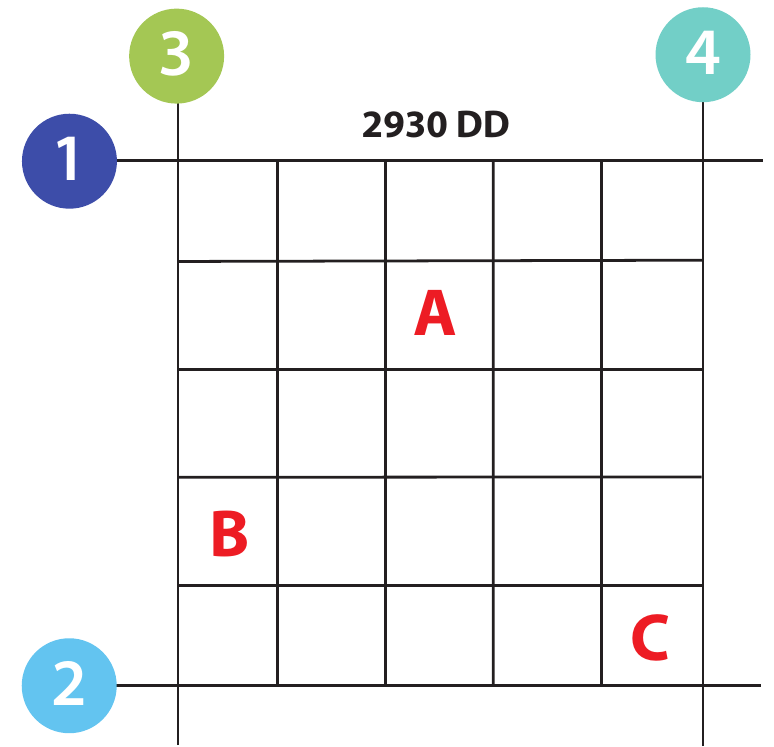
The grid system shown above demonstrates how reference points (numbered 1-4) and landmarks (A, B, C) can be used to establish proper orientation between different mapping products.
Practical tips for orientation
- Work with distinctive features that are easy to spot on both the photograph and map
- Don't rely on feature size due to scale differences
- Use multiple reference points to ensure accuracy
- Remember the South African shadow rule - shadows point south
- Take your time to ensure proper alignment before proceeding with any analysis
Key Points to Remember:
- Orient means to align an aerial photograph with a reference map using corresponding features
- Orthophoto maps are easier to orient than regular aerial photographs because they have less distortion
- Follow the three-step process: find landmarks, identify north, then turn and align
- In South Africa, shadows fall to the south, helping you determine north direction
- Scale differences mean you cannot use feature size as a guide - focus on shape and position instead