Gradient (Grade 11 NSC Matric Geography): Revision Notes
Gradient
What is gradient?
Gradient refers to the average steepness of a slope on the Earth's surface. When we look at hills, mountains, or any sloping terrain, the gradient tells us how steep or gentle that slope is. This measurement is crucial for understanding landforms and planning construction projects.
The gradient statement is a mathematical way of expressing the relationship between how much a slope rises vertically compared to how far it extends horizontally between two points. Think of it as describing the "steepness ratio" of any slope you encounter.
Most slopes in nature are not perfectly uniform - they may curve, change steepness, or have undulating surfaces. Because of this variation, we usually calculate the average gradient between two specific points rather than trying to measure every small change in steepness.
We express gradient as a ratio, which makes it easy to compare different slopes and understand their relative steepness. This standardized approach allows geographers, engineers, and planners to communicate slope information clearly and accurately.
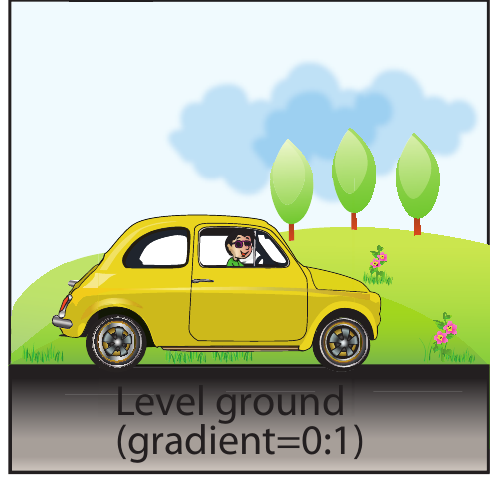
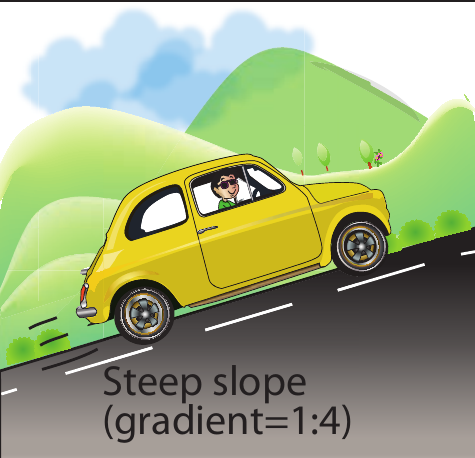

These diagrams show how gradient changes from level ground (0:1) to increasingly steep slopes, ending with a vertical cliff face (1:0).
Understanding gradient ratios
Gradient ratios tell us how many units we need to travel horizontally to gain one unit of height vertically. For example:
- Level ground (0:1): No vertical rise, so the gradient is zero
- Gentle slope (1:30): For every 1 metre of vertical rise, you travel 30 metres horizontally
- Steep slope (1:4): For every 1 metre of vertical rise, you travel only 4 metres horizontally
- Vertical slope (1:0): Infinite steepness - you gain height without moving horizontally
Understanding Ratio Interpretation
Remember that in gradient ratios, a smaller horizontal number indicates a steeper slope. A ratio of 1:4 represents a much steeper slope than 1:30, because you're gaining the same vertical height over a much shorter horizontal distance.
How to calculate gradient
To calculate gradient between two points, you need to determine two key measurements:
Vertical distance
This represents the height difference between your two points. Calculate this by subtracting the altitude of the lower point from the altitude of the higher point. Always express this measurement in metres for consistency.
Horizontal distance
This is the straight-line distance between your two points on the ground surface. You need to measure this distance on your map using a ruler, then convert it to real ground distance using the map's scale. Remember to convert your final answer to metres to match your vertical distance units.
The gradient formula
Express your gradient as a ratio using this format:
Gradient Formula
The ratio should always show how many horizontal units correspond to one vertical unit, so you may need to simplify your ratio (for example, 100:1500 becomes 1:15).
Worked example
Let's work through a practical calculation using a cross-section diagram:
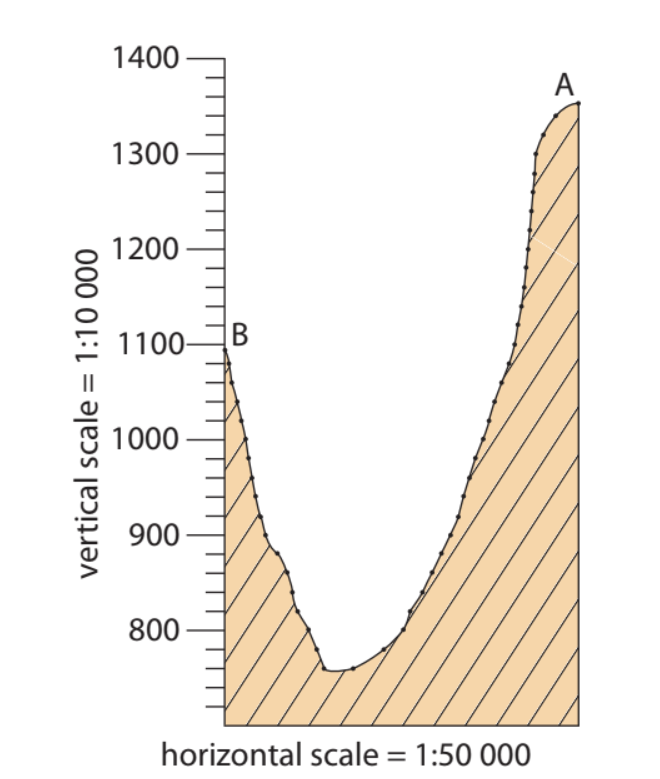
Worked Example: Calculating Gradient from Cross-Section
Looking at this cross-section from point B to point A, we can see the elevation changes and measure the horizontal distance.
Step 1: Find the vertical distance
- Point A elevation: 1400 metres
- Point B elevation: 1100 metres
- Vertical distance = 1400m - 1100m = 300 metres
Step 2: Find the horizontal distance
- Measure the distance on the map between points A and B
- Use the map scale to convert to real distance
- In this example: 3 cm on the map represents 1.5 km on the ground
- Convert to metres: 1.5 km = 1500 metres
Step 3: Calculate the gradient
- Gradient = 300m : 1500m
- Simplify by dividing both numbers by 300
- Final gradient = 1:5
This means for every 1 metre of vertical rise, you travel 5 metres horizontally - quite a steep slope!
Using topographic maps for gradient calculation
Real gradient calculations often use topographic maps and their contour lines to determine elevation differences.
This topographic map extract shows the Bourke's Luck area with contour lines indicating elevation changes. The contour lines help you identify the elevation of different points, which you need for your vertical distance calculations.
When working with topographic maps, you can identify elevations by reading the contour line values and use the map scale to measure horizontal distances accurately. The closer the contour lines are together, the steeper the gradient will be.
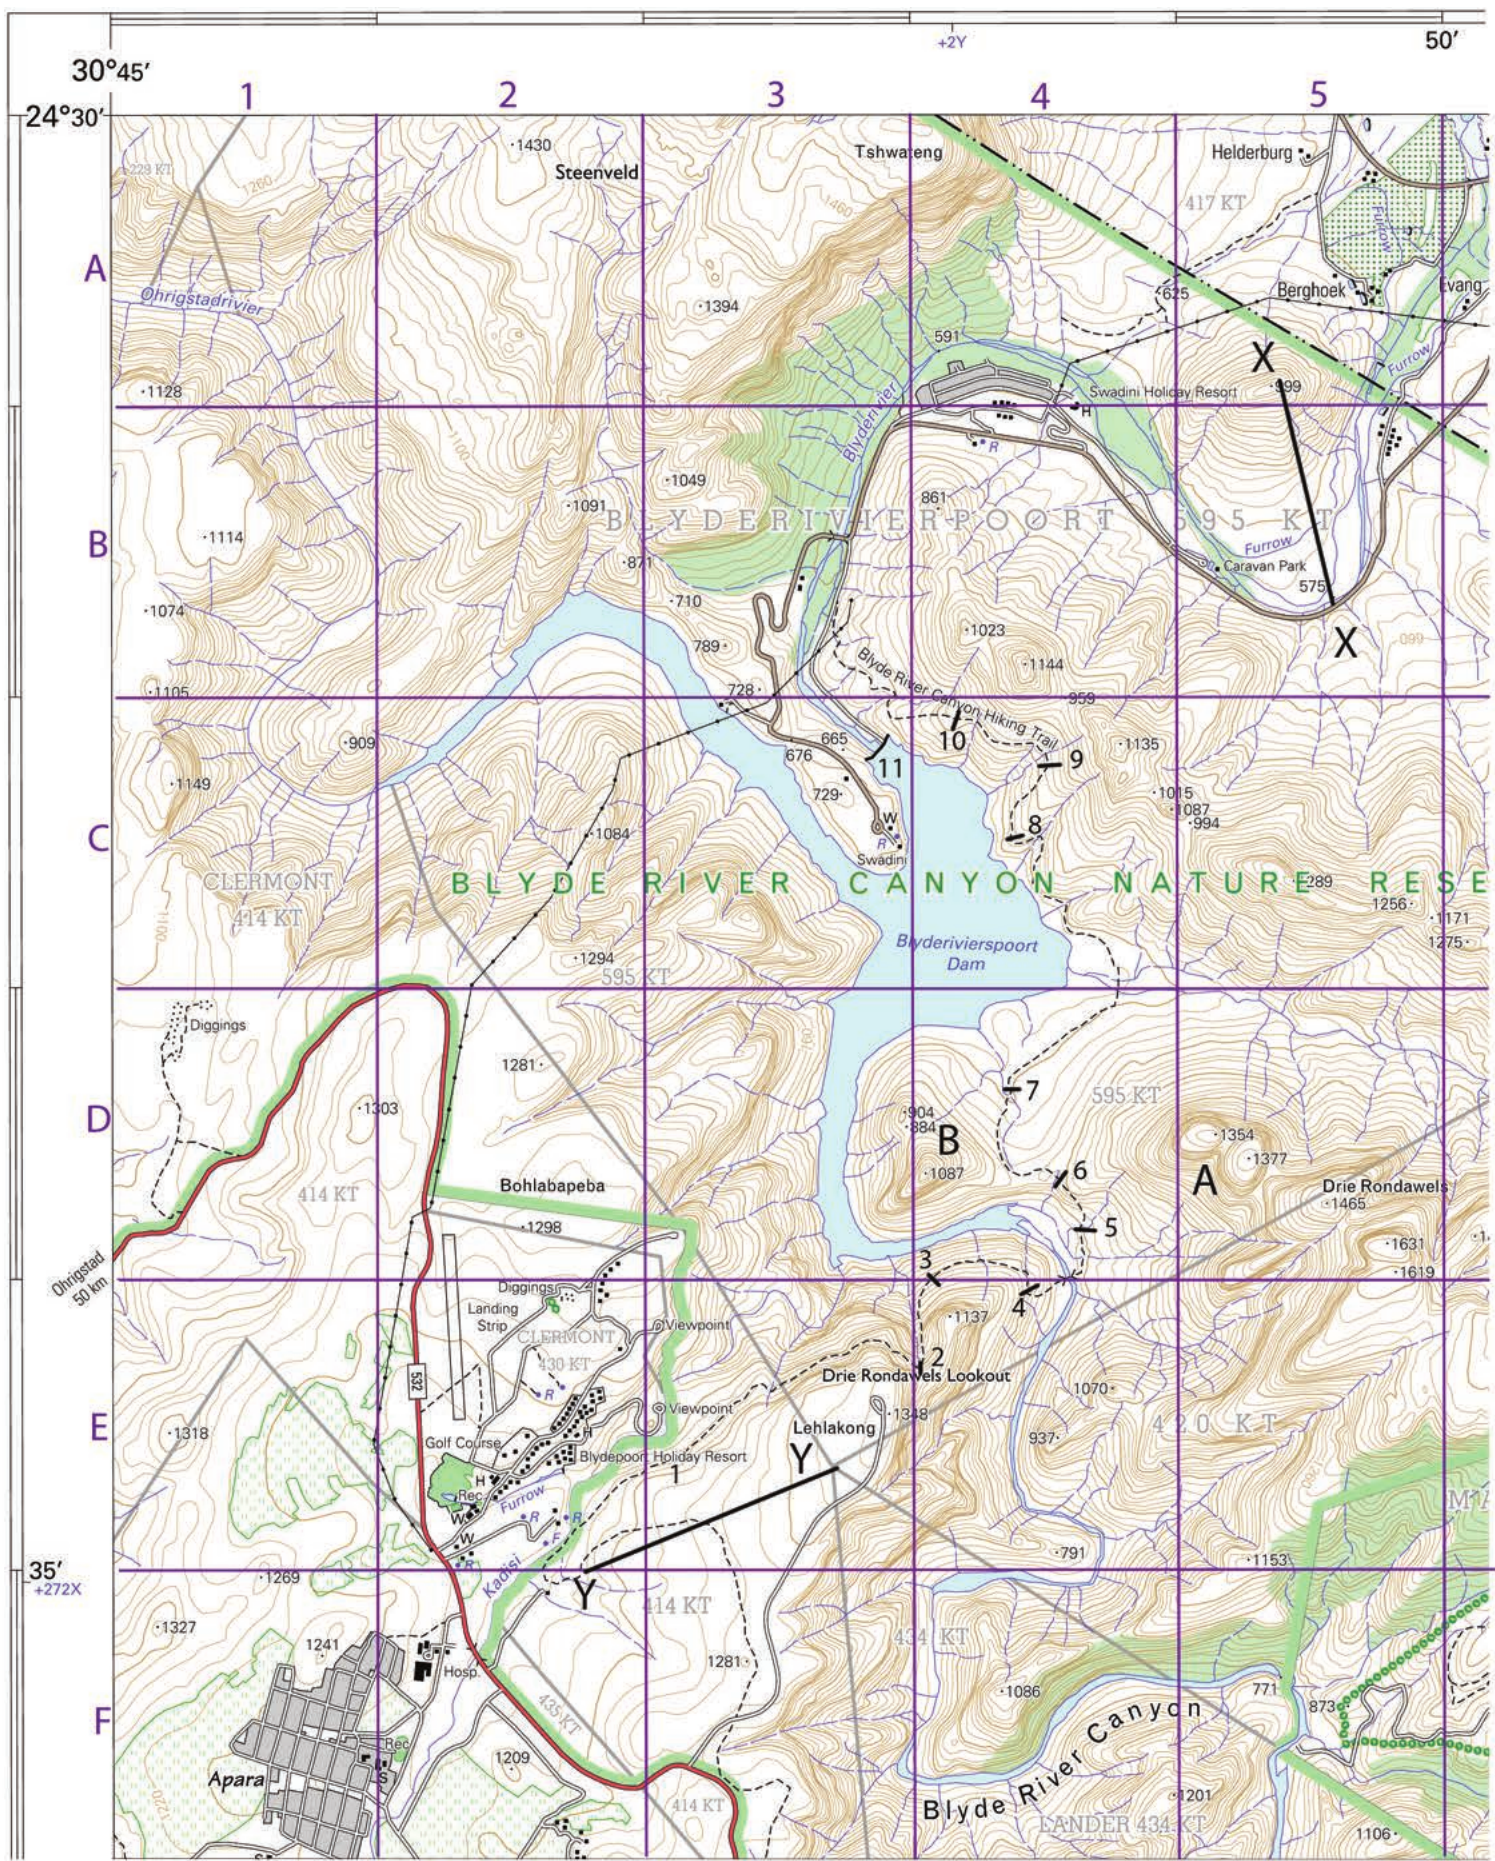
Orthophoto extracts like this one can also be used alongside topographic maps to help visualise the terrain and understand the landscape features you're calculating gradients for.
Practical applications
Understanding gradient has important real-world applications:
Engineering and construction: Engineers must calculate gradients when designing roads and railway lines. Generally, roads should not exceed a gradient of 1:20, and railways should not exceed 1:66. This is because motor vehicles and trains are not designed to operate safely on slopes steeper than these limits.
Safety Considerations
Steep gradients can be dangerous for vehicles, especially heavy trucks or trains carrying cargo. Understanding gradient helps engineers design safer transportation routes and determine appropriate speed limits for sloped sections.
Urban planning: City planners use gradient information to determine suitable locations for buildings, parking areas, and infrastructure that requires level or gently sloping ground.
Key Points to Remember:
- Gradient measures the average steepness of a slope between two points
- Always calculate vertical distance by subtracting the lower elevation from the higher elevation
- Convert both vertical and horizontal distances to the same units (preferably metres)
- Express your final answer as a simplified ratio showing horizontal units per 1 vertical unit
- Steeper slopes have smaller horizontal numbers in their ratios (like 1:4), while gentler slopes have larger horizontal numbers (like 1:30)
- Gradient calculations are essential for engineering projects and understanding landscape characteristics