Decorative Finishing Processes (Junior Cert Engineering): Revision Notes
Decorative Finishing Processes
Decorative finishing processes are techniques used to improve the appearance and protection of manufactured items. These processes can be grouped into mechanical methods, chemical treatments, and coating applications. Each technique serves both functional and aesthetic purposes in engineering and manufacturing.
The three main categories of decorative finishing - mechanical, chemical, and coating processes - each offer unique advantages and are often combined to achieve optimal results for specific applications.
Mechanical finishing processes
Mechanical finishing processes use physical methods to alter the surface texture and appearance of materials. These techniques rely on abrasive action, controlled impact, or specialised tooling to create decorative effects.
Polishing
Polishing creates a smooth, shiny surface finish on metal objects using abrasive compounds and soft materials. Hand polishing involves using a soft cloth with metal polish, whilst machine polishing uses rotating mops fitted to polishing machines.

Key points about polishing:
- Different metal polishes are available for various materials
- Mops (cloth wheels) are attached to polishing machines for efficient work
- A polishing compound must be applied to the mop as it rotates
- Safety is crucial - pupils need proper instruction before using polishing machines
- Work should be held firmly and pressed lightly against the wheel below its centre line
- Never press work directly into the mop as this can snatch it from your hands
- If work becomes too hot, allow it to cool naturally
- Clean clogged mops by holding a mop dresser against the rotating mop
Safety Warning: Never press work directly into the mop as this can snatch it from your hands, potentially causing serious injury. Always work below the centre line of the wheel and maintain firm control of the workpiece.
Mottling
Mottling produces decorative circular patterns on metal surfaces using a simple rotating technique. A wooden dowel approximately 8mm in diameter is coated with carborundum paste and gripped in a drilling machine chuck.

Mottling Process Example:
Step 1: Prepare the tool
- Coat wooden dowel with carborundum paste
- Secure in drilling machine chuck
Step 2: Create the pattern
- Press rotating dowel against workpiece
- Move systematically to create overlapping circles in rows
- Maintain consistent pressure for even pattern depth
Hammering
Hammering creates textured surface finishes through controlled impact patterns. A round-ended hammer produces indentations across the metal surface, creating visual interest and texture.
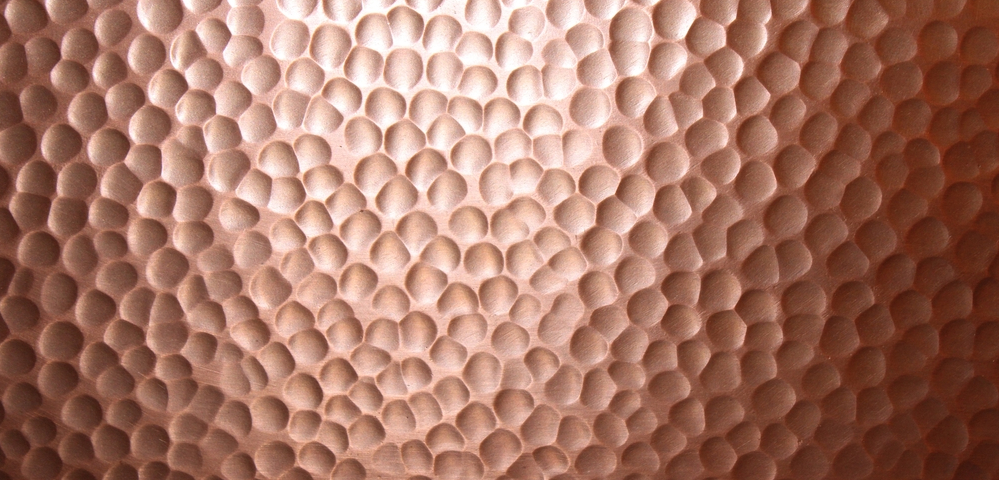
Hammering Technique Requirements:
- Use a smooth, mark-free hammer striking surface for clean results
- Support the work firmly during hammering to prevent distortion
- Create irregular patterns with closely spaced indentations for best visual effect
- Consider enhancement techniques like flat black paint coating followed by draw-filing and heat treatment
Punching
Punching uses specially shaped tools to create decorative impressions in thin metal sheets. Various punch shapes allow for creative pattern combinations across the surface.
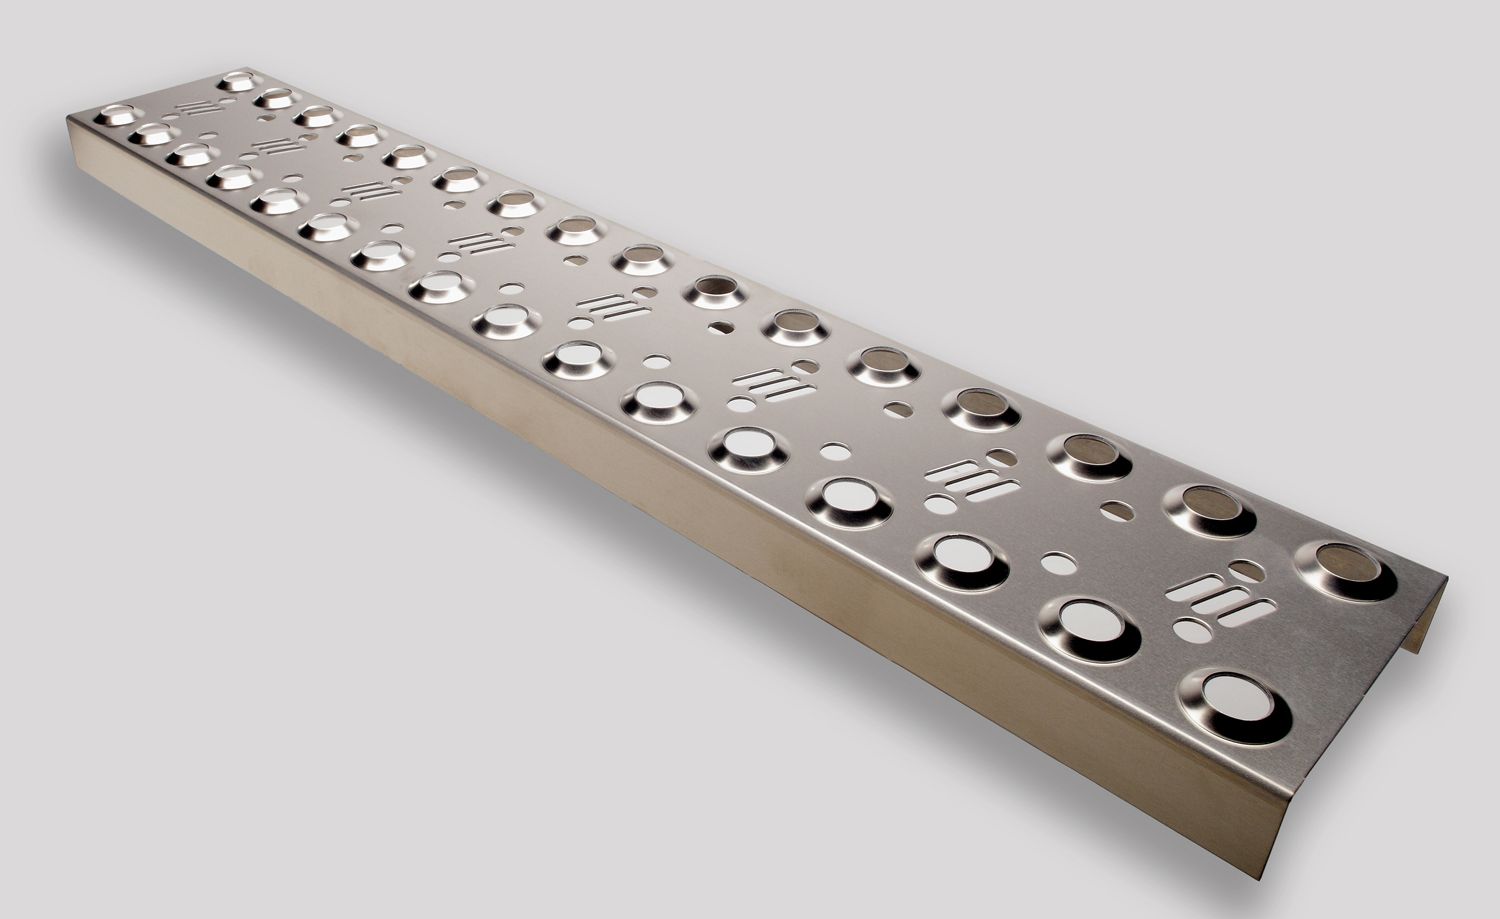
Punching Process Details: Different shaped punches create varied decorative effects, from simple geometric patterns to complex designs. Thin material requires support on lead or pitch backing to prevent distortion, and the technique works best on soft, malleable metals like copper and aluminium.
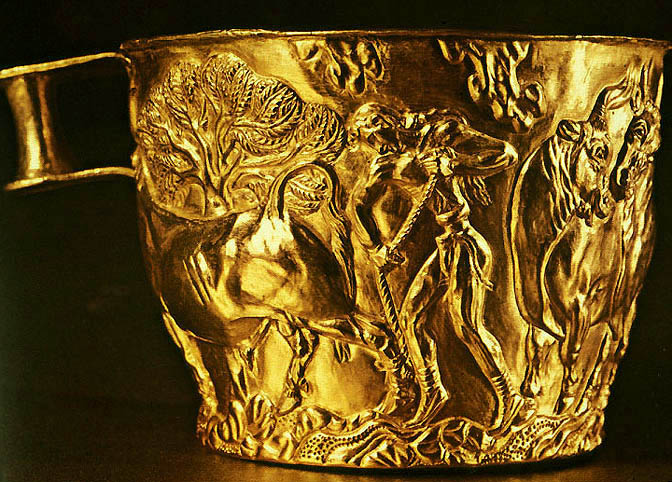
Repoussé
Repoussé creates raised decorative designs by working metal from the reverse side whilst embedded in pitch. This ancient technique produces three-dimensional decorative effects.
Repoussé Working Method:
Phase 1: Initial Setup
- Heat pitch surface and press annealed metal until pitch covers edges
- Metal faces upwards initially with surface lightly greased
- Cool completely before starting work
Phase 2: Design Transfer
- Use carbon paper to transfer designs onto metal surface
- Trace design lines with tracing punch, tilted towards operator
Phase 3: Forming Process
- Heat and remove from pitch, reset facing downwards
- Punch required design from behind using shaped punches
- Can be reset facing upwards to sharpen details from front
Engraving
Engraving cuts precise decorative lines and patterns into metal surfaces using sharp cutting tools. The most common tool is the square graver, sharpened on a fine oil stone.

Engraving Technique: Success in engraving requires steady hands and careful control. Draw the design first, then push the graver carefully along marked lines with light initial cuts that can be deepened as required. For curves, it's better to turn the metal rather than the graver for smoother results.
Chemical finishing processes
Chemical finishing processes use controlled chemical reactions to alter surface appearance and properties. These methods require careful safety precautions but can produce effects impossible to achieve through mechanical means alone.
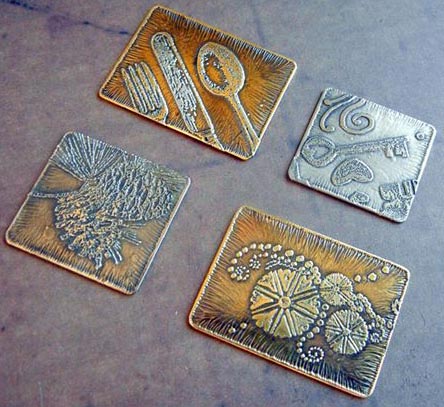
Etching
Etching uses acid to remove metal selectively, creating decorative patterns and designs. The process requires careful safety precautions due to the corrosive chemicals involved.
Safety Considerations:
- Take extreme care with acids - avoid skin and eye contact
- Work in well-ventilated areas only
- Ensure proper disposal of chemical solutions according to regulations
- Keep emergency neutralising agents readily available
Etching Process Steps:
Step 1: Preparation
- Apply acid resist to areas that should remain unchanged
- Use carbon paper for accurate design transfer
- Expose areas to be etched by carefully scraping off resist
Step 2: Chemical Treatment
- Immerse completely in acid solution (ferric chloride for copper and brass)
- Alternative: equal parts water and nitric acid
- Brush away bubbles periodically with a feather
Step 3: Completion
- Remove when etching reaches desired depth
- Wash thoroughly under running water
- Remove all remaining acid resist
Enamelling
Enamelling fuses powdered glass onto metal surfaces through high-temperature firing. This creates durable, colourful decorative finishes that can be transparent, translucent, or opaque.
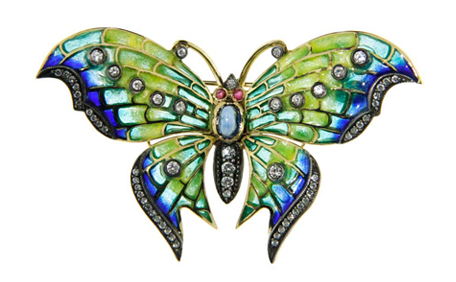
The enamelling process combines artistry with technical precision, requiring careful temperature control and timing. The technique works best on copper, which has excellent thermal expansion properties that match most enamel formulations.
Basic Enamelling Process:
Step 1: Surface Preparation
- Clean metal surface thoroughly to remove all grease and scale
- Any contamination will prevent proper enamel adhesion
Step 2: Enamel Application
- Place work on paper and sprinkle powdered enamel using small sieve
- Ensure even coverage for consistent results
Step 3: Firing Process
- Fire in kiln at approximately 850°C for 1-3 minutes
- Remove when enamel appears smooth and glossy
- Allow to cool completely before handling
For Multi-colour Designs:
- Cut paper patterns for different colour areas
- Position on fired enamel base, sprinkle different colours
- Remove patterns with tweezers and fire again
Equipment needed:
- Gas-fired enamelling kiln with insulated firing chamber
- Firing fork for handling hot work
- Panning mesh for supporting pieces during firing
- Small sieves for precise powder application
Critical Safety Notes:
- Never put anything wet into a hot kiln - explosion risk from rapid steam generation
- Never light a torch from a kiln opening - gas accumulation creates explosion hazard
- Always wear face protection when operating kilns
- Suitable metals include copper (best for school projects), silver, gold, and steel
Surface coating processes
Surface coating processes apply protective and decorative layers to base materials. These techniques provide both aesthetic enhancement and functional benefits such as corrosion resistance and improved durability.
Colouring by heating or blueing
This decorative technique creates attractive colour gradients on steel through controlled heating. The process produces rainbow-like colour transitions from blue through to gold.
Blueing Process:
Step 1: Surface Preparation
- Draw-file the steel surface smooth
- Polish with emery cloth wrapped around file for mirror finish
Step 2: Heat Treatment
- Heat slowly and evenly until desired colours appear
- Watch for colour progression: straw → purple → blue → grey
Step 3: Fixing
- Cool quickly in water to fix the colours permanently
- Results in attractive colour transitions ideal for decorative items
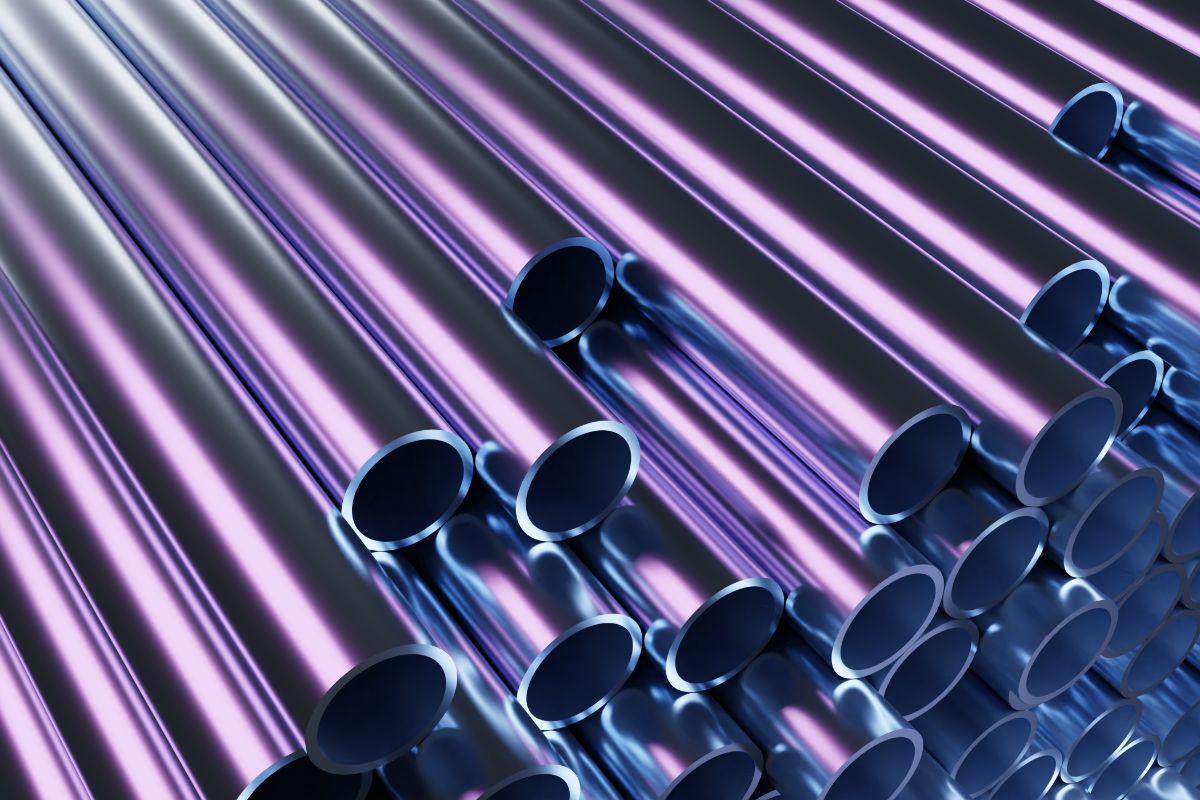
Lacquering
Lacquers and varnishes provide protective transparent or tinted coatings for both ferrous and non-ferrous metals. These finishes preserve the underlying metal appearance whilst providing corrosion protection.

Application Methods: Each application method suits different project requirements: brushing for detailed work and precise coverage, dipping for complete uniform coverage of complex shapes, and spraying for the most even finishes on large surfaces. The surface must be perfectly clean before application, and finishes are available in both colourless and tinted varieties.
Painting
Painting greatly improves the appearance of ferrous metals whilst providing essential corrosion protection. Modern paint systems use multiple coat applications for best results.

Proper Painting Sequence:
Step 1: Surface Preparation
- Clean surfaces thoroughly - remove all rust, oil, and grease
- This step determines the quality and durability of the finish
Step 2: Base Coats
- Apply primer coat first for adhesion and corrosion protection
- Add undercoat for build-up and smooth base
Step 3: Final Finish
- Apply topcoat for final appearance and protection
- Allow proper curing time between coats
Aerosol Spray Painting Tips: Work in well-ventilated areas to avoid inhaling fumes. Clean the nozzle after use by turning the can upside down and pressing until spray clears - this prevents clogging for future use. Always dispose of empty cans safely according to local regulations.
Plastic coating - fluidised bed method
This industrial process applies durable plastic coatings to metal objects, providing excellent corrosion resistance and attractive appearance. Common applications include dish drainers, refrigerator shelves, and coat hangers.
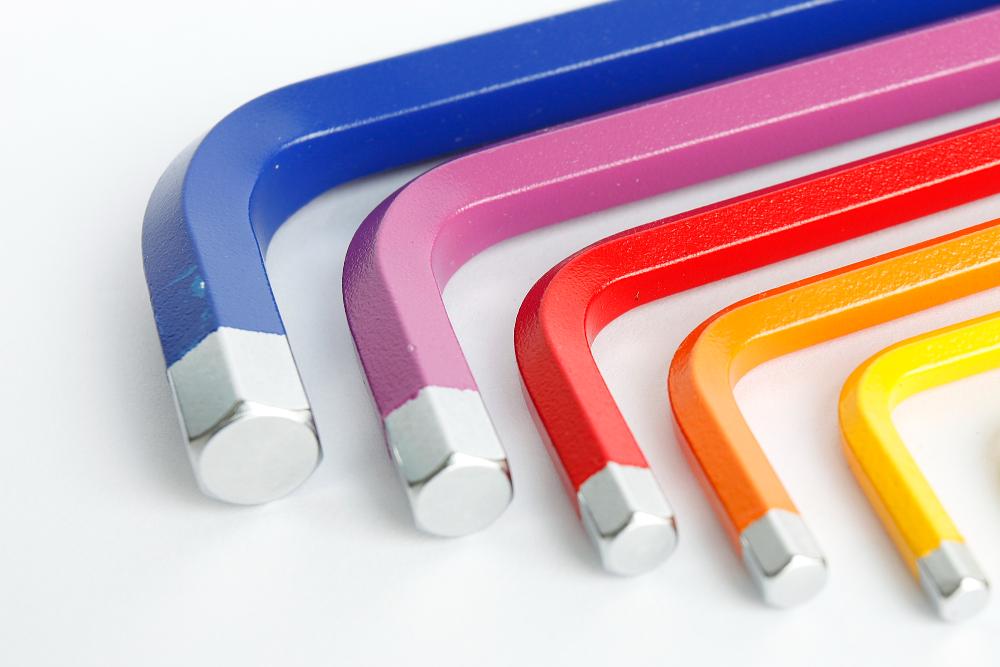
The fluidised bed method creates a uniform coating by making plastic powder behave like a fluid through controlled air flow. This allows even coverage of complex shapes that would be difficult to coat by other methods.
Process requirements:
- Fluidising unit with porous tile separation
- Air supply with pressure regulator
- Heating equipment for pre-heating articles
- Plastic powders (polyethylene, PVC, nylon) in various colours
Fluidised Bed Coating Process:
Step 1: Heating
- Pre-heat article to approximately 180°C (suitable for low-density polyethylene)
- Even heating is essential - kilns work better than torches
Step 2: Dipping
- Immerse heated article in fluidised plastic powder
- Air passing through porous material makes powder behave like fluid
Step 3: Coating Formation
- Powder melts on contact with hot metal surface
- Creates uniform coating thickness
Step 4: Cooling
- Remove and allow to cool - residual heat completes powder fusion
- Wire can be attached for dipping and hanging during cooling
Critical Process Requirements: Articles must be completely free from scale, oil, or grease for proper adhesion. Thin articles may need reheating in an oven for complete powder fusion. Even heating throughout the workpiece is essential for uniform coating thickness.
Electroplating
Electroplating applies thin decorative and protective metal coatings to electrically conducting articles through electrochemical processes.
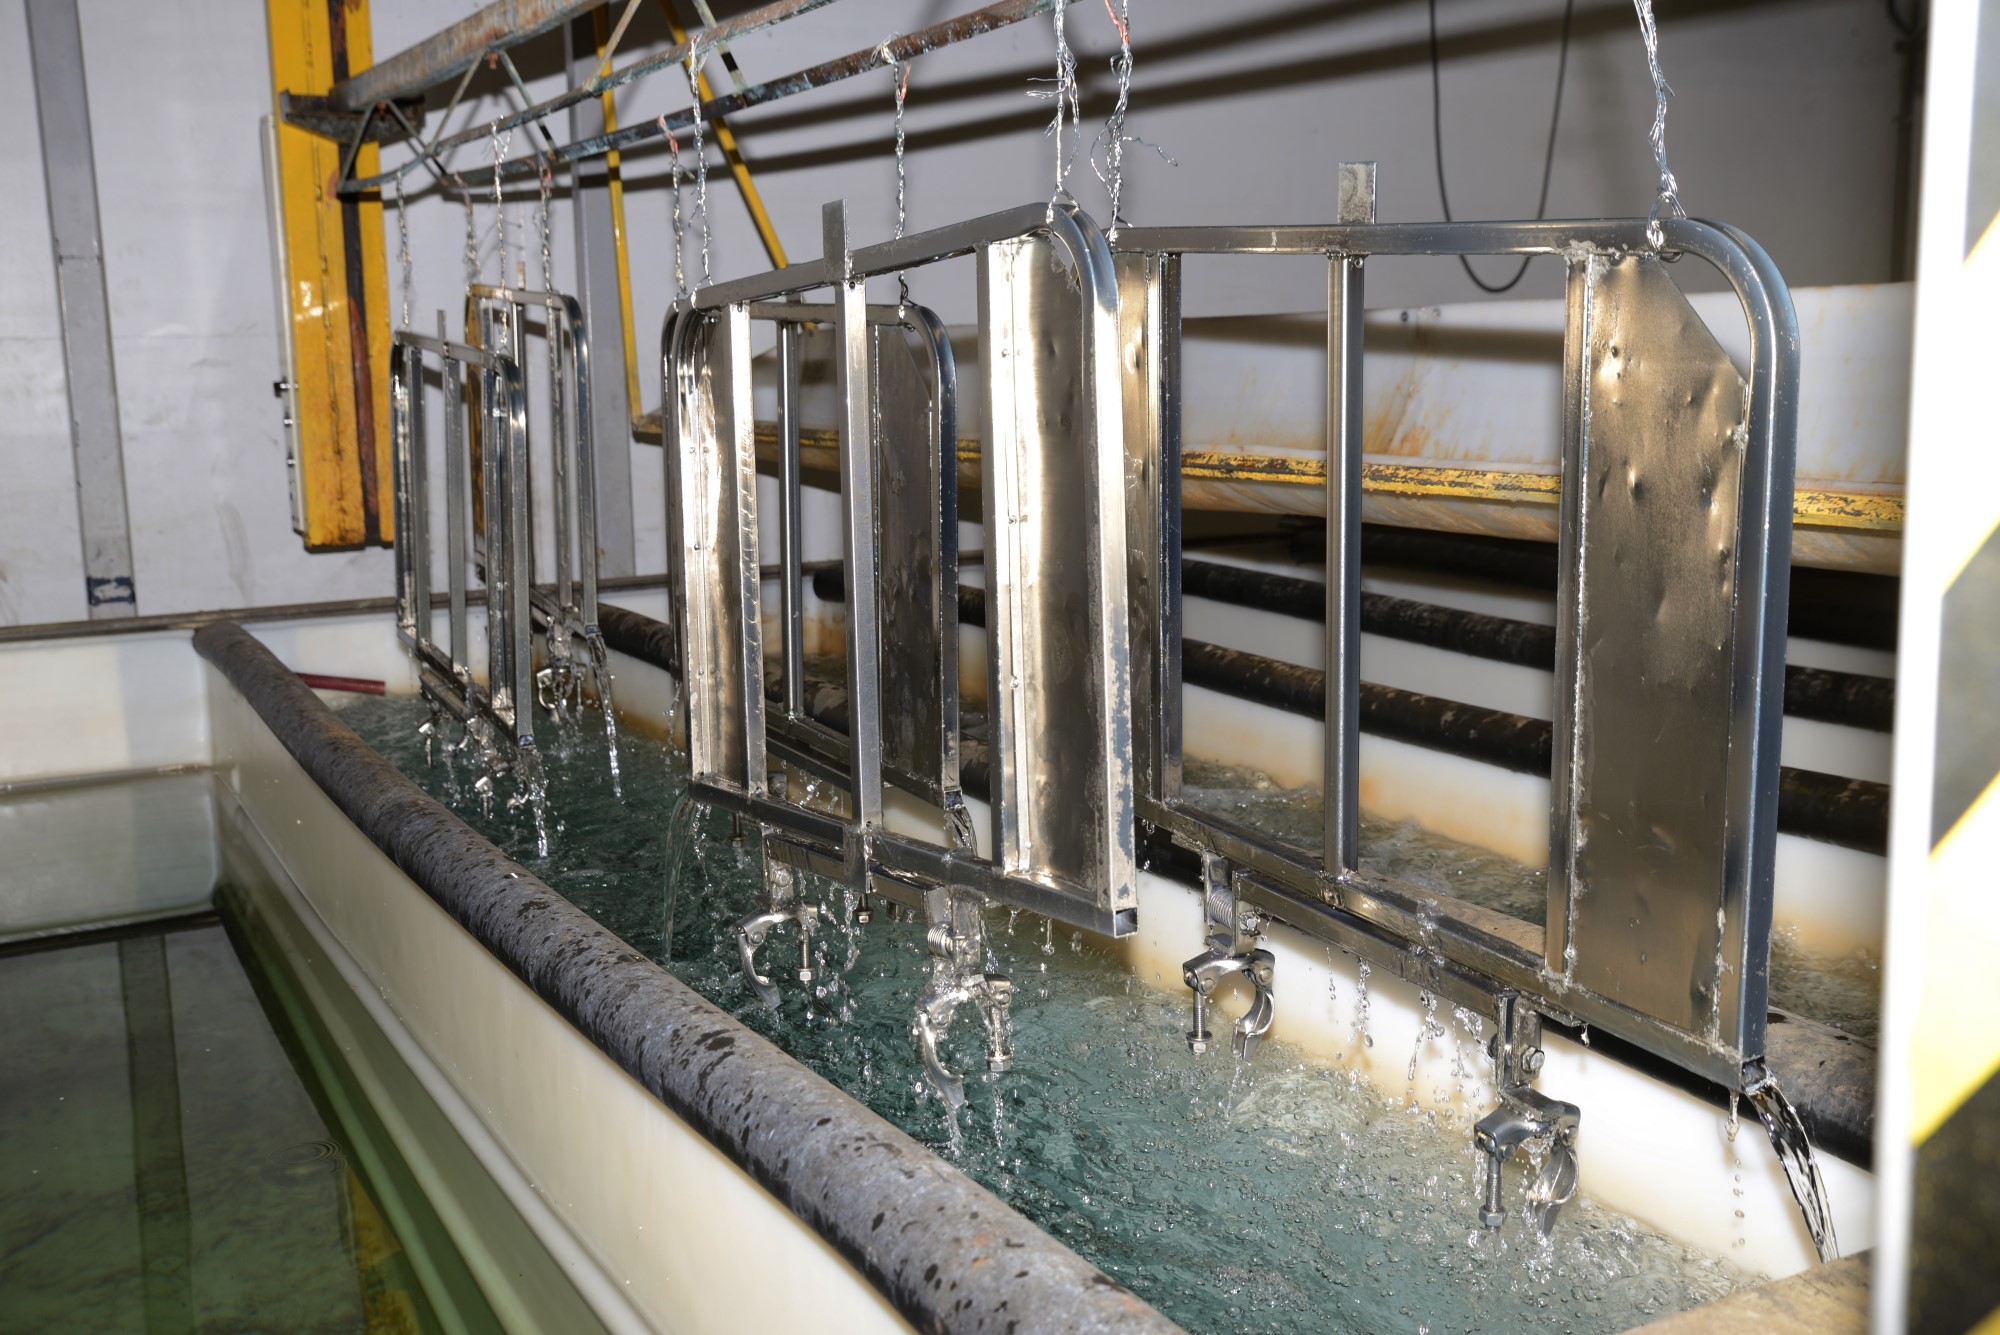
Electroplating Principles: The process works by making the article to be plated the cathode (negative terminal) while the plating metal forms the anode (positive terminal). Both electrodes immerse in a suitable electrolyte solution, and direct current flowing between electrodes causes metal to dissolve from the anode and deposit evenly on the cathode.
Common applications:
- Copper plating for decorative finishes and electrical conductivity
- Chrome plating for durability and mirror-like appearance
- Silver plating for electrical contacts and decorative purposes
- Gold plating for corrosion resistance and luxury appearance
Remember!
Key Points to Remember:
- Safety first: Always follow proper safety procedures, especially when using acids, kilns, and electrical equipment
- Surface preparation: Clean surfaces thoroughly before applying any finish - this determines the quality of results
- Process selection: Choose finishing methods based on the material type and intended use of the finished product
- Multiple techniques: Many decorative items combine several finishing processes for enhanced appearance
- Practice and patience: Decorative finishing requires skill development through careful practice and attention to detail