Document Layout (Grade 11 NSC Matric Computer Application Technology): Revision Notes
Document Layout
Understanding section breaks and sections
Section breaks are powerful tools that allow you to divide your document into separate sections, each with its own unique formatting. Think of them as invisible barriers that let you control how different parts of your document appear. Each section can have different page layouts, including varying column arrangements, headers, footers, page orientation, and spacing settings.
When you're working on longer documents like reports or essays, section breaks become essential for creating professional-looking layouts that meet specific formatting requirements.
Section breaks are different from regular page breaks because they create formatting divisions within your document. While page breaks simply move content to a new page, section breaks allow each section to have completely independent formatting settings.

Types of section breaks
There are several types of section breaks available in Word, each serving different purposes:
Next page section break is the most common type. It creates a new section that begins on the following page. This is perfect when you want to start a new chapter or major section of your document with completely different formatting.
Continuous section break creates a new section on the same page without forcing a page break. This type is particularly useful when you want to change the number of columns in your document. For example, you might have a single-column introduction followed by a two-column body text, all on the same page.

Even page section break forces the new section to start on the next even-numbered page. This feature is helpful when creating booklets or formal documents where new chapters must always begin on even pages.
Odd page section break works similarly but ensures the new section starts on the next odd-numbered page. This is commonly used in book publishing where new chapters traditionally begin on odd-numbered pages.
Practical Example: Using Section Breaks
Imagine you're writing a report with:
- Title page (no header/footer)
- Table of contents with Roman numerals (i, ii, iii)
- Main content with Arabic numerals (1, 2, 3)
You would use:
- Next page break after title page
- Next page break after table of contents
- Different page numbering formats for each section
Understanding the Difference
It's important to understand the difference between section breaks and other types of breaks:
- Page breaks simply move content to a new page without creating formatting divisions
- Column breaks move text to the top of the next column when working with multi-column layouts
- Section breaks create formatting boundaries that allow independent formatting control
How to insert section breaks
To insert section breaks in your document, you'll work primarily with the Layout tab in Word's ribbon interface. First, position your cursor where you want the section break to begin. Then navigate to the Layout tab and locate the Page Setup group. Click on the Breaks dropdown menu to see all available break options.
The breaks menu is organised into two main categories: Page Breaks and Section Breaks. Select the appropriate section break type based on your formatting needs. Once inserted, the break will control how your document is structured from that point forwards.
Viewing Section Breaks
Remember that you can use the Show/Hide feature (¶ button) to see where breaks are placed in your document. This helps you understand your document's structure and troubleshoot any formatting issues. Section breaks appear as dotted lines with labels indicating their type.
Headers and footers
Headers and footers are areas at the top and bottom of each page that contain information about your document. They're incredibly useful for adding consistent information throughout multi-page documents, such as document titles, author names, dates, page numbers, or even images like logos.
The beauty of headers and footers is that they automatically appear on every page, saving you time and ensuring consistency. When combined with sections, you can create different header and footer content for different parts of your document. For instance, you might want Roman numerals for introductory pages and Arabic numerals for the main content.
Adding headers and footers
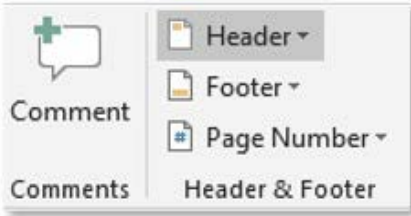
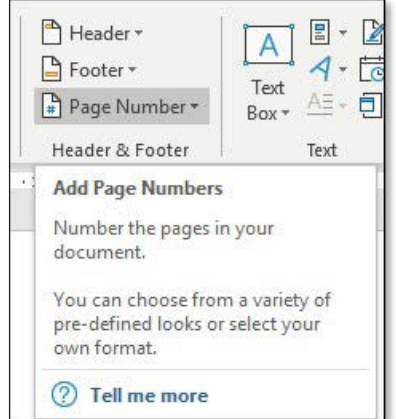
To add headers and footers to your document, you'll use the Insert tab in Word's ribbon. The Header & Footer group provides easy access to these features through dropdown menus for headers, footers, and page numbers.
When you select a header or footer option, Word automatically switches to Header & Footer Tools mode, giving you specialised formatting options for these areas. You can type directly into the header or footer area, and Word will apply your content to all pages in that section.
Including date and time information
One of the most useful features of headers and footers is the ability to include automatically updating date and time information. This is particularly helpful for documents that need to show when they were last modified or printed.
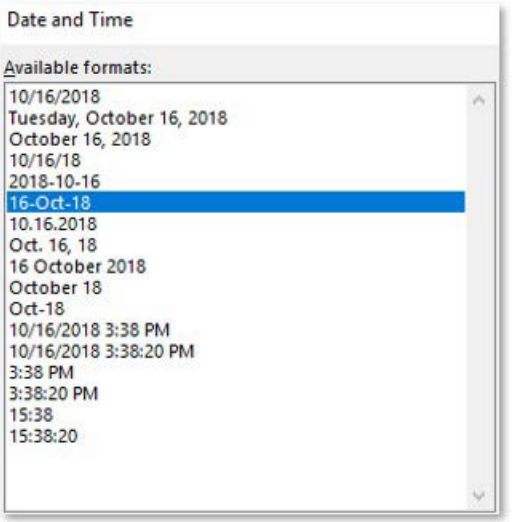
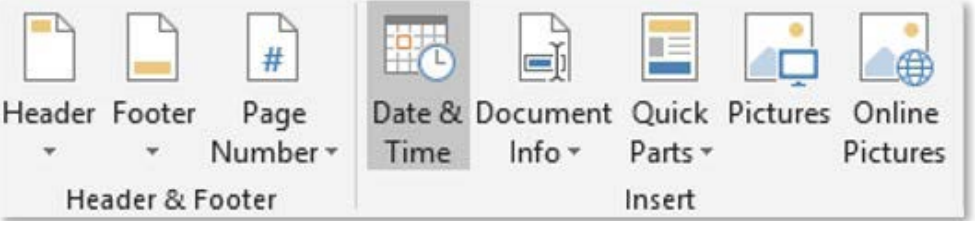
To add date and time information, position your cursor in the header or footer area, then use the Date & Time option from the Insert group. Word provides numerous formatting options, from simple date formats like "16-Oct-18" to more formal versions like "Tuesday, October 16, 2018". You can also include time information if needed.
The "Update automatically" option ensures that the date and time information stays current whenever you open or print the document, which is perfect for maintaining accurate document timestamps.
Adding document properties
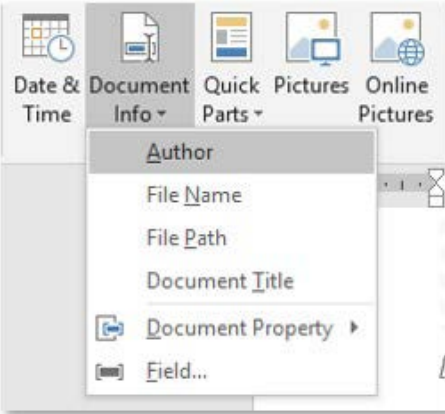
Beyond dates and times, you can insert various document properties into your headers and footers. These include information like the document author, file name, file path, and document title.
Document properties are particularly useful in professional environments where you need to track document information automatically. For example, including the file name in a footer ensures that printed copies can always be traced back to their digital source.
Managing header and footer links
When working with multiple sections in a document, Word automatically links headers and footers across sections. This means that changes you make to a header in one section will appear in all linked sections. However, sometimes you want different headers or footers for different sections.
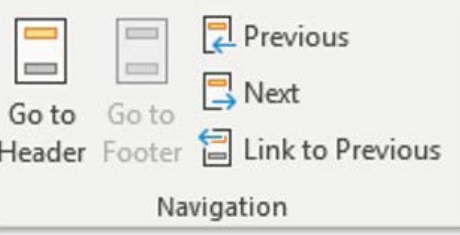
To create unique headers and footers for different sections, you need to break the link between sections. This is done using the "Link to Previous" option in the Header & Footer Tools. When you unlink a section, it becomes independent, allowing you to create custom header and footer content for that specific section.
Managing Section Links
The navigation tools also help you move between headers and footers in different sections, making it easy to manage complex document layouts. Always check whether sections are linked or unlinked before making changes to avoid unintended modifications across your entire document.
Page numbering
Page numbers help readers track their position in a document and are essential for professional document presentation. Word provides flexible options for adding and formatting page numbers to meet various requirements.
Adding page numbers to documents
You can add page numbers through either the Insert tab or the Header & Footer Tools. Word offers several pre-designed page number formats and positions, including top of page, bottom of page, page margins, and current position options.

The page numbering system in Word is quite sophisticated. You can format page numbers using different number styles (1, 2, 3 or i, ii, iii), and you even have the option to include chapter numbers if your document uses heading styles.
Formatting page numbers
When you need more control over page numbering, the Format Page Numbers option provides advanced settings. You can choose different numbering formats, decide whether to continue numbering from previous sections, or start numbering at a specific number.
This flexibility is particularly useful for longer documents where different sections might need different numbering schemes. For example, preliminary pages might use Roman numerals while the main content uses Arabic numerals.
Creating different first pages
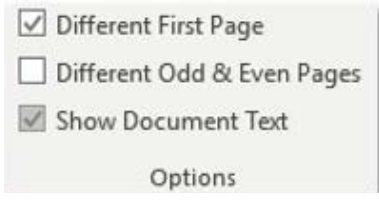
Many professional documents have different formatting for the first page compared to subsequent pages. The "Different First Page" option allows you to create unique header and footer content for your document's opening page.
This feature is commonly used when the first page contains a title page or cover page that shouldn't display the same header and footer information as the rest of the document.
Using different odd and even pages
For documents that will be printed double-sided or bound like books, you might want different header and footer layouts for odd and even pages. The "Different Odd & Even Pages" option enables this functionality.
This feature allows you to create layouts where page numbers appear on the outside margins of each page, or where different information appears on left versus right pages. It's particularly useful for creating professional-looking reports, theses, or publications.
Managing Odd and Even Pages
When using this option, remember that you'll need to format both odd and even page headers and footers separately to achieve the desired appearance. This gives you complete control over the professional appearance of bound documents.
Key Points to Remember:
-
Section breaks divide documents into independently formatted sections - use Next Page for new chapters, Continuous for column changes, and Even/Odd Page for specific page requirements
-
Headers and footers provide consistent information across pages - they automatically appear on every page and can include dates, document properties, and page numbers
-
Date and time fields can update automatically - use the "Update automatically" option to keep timestamps current whenever the document is opened or printed
-
Link to Previous controls header and footer consistency - unlink sections when you need different header or footer content in different parts of your document
-
Page numbering offers flexible formatting options - you can use different number styles, start at specific numbers, and create different layouts for first pages or odd/even pages